I am usually a snowflake purist, and detest any and all snowflakes that do not have 6 points, as real ones do. This method makes them with 8 points. I've tried tweaking it for 6 points, and just wasn't happy with how the paper folded, or the final dimensions. So 8 points it is, and I love them anyway.
So why snowflakes now? Well, besides the fact that it is almost Christmas, the PTSA of Sandy Hook Elementary has requested that snowflakes of all kinds be made and sent so they can decorate the school before classes resume January 12th. What a beautiful way show love and support for these children who have been through so much. If you would like to make snowflakes of any kind, whether paper, fabric, embroidered, mixed media, whatever, they can be mailed in time to receive them by January 12th, 2012 to
Connecticut PTSA
60 Connolly Parkway
Building 12, Suite 103
Hamden, CT 06514
So on with the tutorial.
Materials needed:
1 sheet computer paper
stapler, preferably not a small one
a sturdy pair of paper scissors
invisible tape
1. Start with a regular sheet of computer paper.
2. Fold in half width-wise (hamburger, not hot dog for those of you that look at it that way)
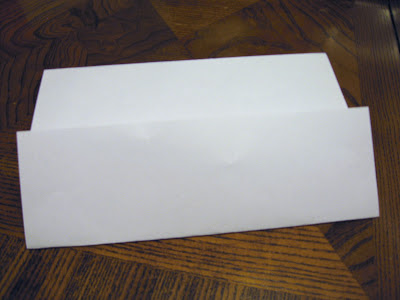
3. Open it up, and fold each half in to the center fold line and crease both sides. You should have your paper folded into fourths, with all folds going the same direction.
4. This part can be a little confusing, but I think it will make sense by the end of this step. Fold the edge of the paper back until it meets the first fold line and crease.
Now fold that fold line backwards to meet the center fold line.
Continue until you have a nice, tidy little fan. All folds should alternate directions. Make sense? If any two consecutive folds go the same direction, it isn't right. 7th graders often had a hard time getting this part.
5. Fold the entire fan in half lengthwise.
6. Look at the ends of your fan. If you are right-handed, hold it so the free ends are pointing to the left, as shown in the lower left of the photo below. If you are left-handed, do this and the next step in the opposite direction.
7. Cut a triangle off of the top at about a 45 degree angle, from the top right corner pointing down to the left.
It should look like this:
8. Open it up and staple across the center. Try to get your staple exactly on the fold line and parallel to it if you can. My stapler is half-size and doesn't quite make it. It still works this way.
9. Re-fold in half and start cutting! This is the creative part. You can cut along the top edge if you want to, but you don't need to.
Note: I recommend not going crazy with cutting too many shapes out of the shorter side--it makes finishing your snowflake easier. I usually cut one shape out of that side.
Cut as many shapes as desired out of the longer side.
10. Begin to open your snowflake and prepare to tape the edges together. You want to tape anywhere that is connected by folds in other areas.
Because I cut one shape out of the shorter side, I needed to use two small pieces of tape to connect the edges of the snowflake, one on each side of the hole.
You can kind of see in this picture how the tape just goes across the "seam" to hold the two sides together.
11. Pull your snowflake all the way open, using your fingers to help it stay open. I like to pinch in the middle to re-train it to fold this way.
12. Tape the other side together as you did the first, and you are done!
My favorite way to hang these is simply by taping a piece of white thread directly onto the snowflake. It works great.
These can also be made with smaller sizes of paper. The large one is made with a full sheet, the medium one with a half sheet (see note below) and the small one with a quarter sheet. The small size is just about perfect for Christmas tree ornaments--just over 3" wide when finished and so cute!
If you want to make a medium-size snowflake, just cutting your paper in half makes it too long and skinny. Cut about 1" to 1 1/4" off of one end first to make the proportions about the same as a normal sheet of paper. I actually cut mine off just a little too much. As a result, my middle snowflake wouldn't open all the way.
To remedy this, I cut small slits between the points to allow it to open more. It worked great.
I hope you have enjoyed this tutorial! I have loved making these over the years and I hope you do as well.


Those are cool. Maybe we should try them with fused interfacing between two layers of fabric and have them permanently around all winter!
ReplyDeleteIf you could repost with proper arrows showing how to fold or proper creases in the first two three steps it would be a big help.
ReplyDelete