Friday, December 21, 2012

Some Last Minute Gifts

Wednesday it suddenly occurred to me that it might be nice to make gifts for my munchkin's preschool teachers.  Not sure why that hadn't crossed my mind before!  When I dropped her off I asked what their favorite colors were, and was told blue and yellow.  I decided to make some simple zipper pouches and started pulling fabrics.
 I don't have a lot of yellow in my stash, so the yellow one turned out decidedly more orange, so I hope she likes it anyway!  This was my first time making tabs to cover the end of my zippers.  I found a tutorial on how to do it here, and kind of faked it from there.  I'd like to try Elizabeth Hartman's Perfect Zip Pouch pattern sometime.  I should have shortened my zippers a little bit more--my tabs ended up being very small!  The pouches turned out cute, and it was a good learning experience on top of that.  We'll be delivering them today.  I hope my munchkin's teachers love them!

We went to visit my brother yesterday, so I whipped up some simple drawstring bags for his girls.  They love to carry around little treasures.  They live just over an hour away.  He is my geographically closest family member, so I'm glad we are close enough to see each other relatively often.  Our kids really enjoy playing together too.

I'm linking up today at Link a Finish Friday at Richard and Tanya Quilts and Finish it Up Friday at Crazy Mom Quilts.

Thursday, December 20, 2012

Tutorial: 3-D Snowflakes

I learned how to make these my sophomore year in high school from a fun, eclectic American Literature teacher.  I think she said they were from Martha Stewart originally.  I kept making them, and when I became a teacher, I almost always took a day in December (you know those early-out days with shorter classes where you can't get anything done?) and made snowflakes with my class.  Anyone who didn't want to take theirs home got to hang them up in the classroom, and I've been known to leave them up for months.  I just love these.

I am usually a snowflake purist, and detest any and all snowflakes that do not have 6 points, as real ones do. This method makes them with 8 points.  I've tried tweaking it for 6 points, and just wasn't happy with how the paper folded, or the final dimensions.  So 8 points it is, and I love them anyway.

So why snowflakes now?  Well, besides the fact that it is almost Christmas, the PTSA of Sandy Hook Elementary has requested that snowflakes of all kinds be made and sent so they can decorate the school before classes resume January 12th.  What a beautiful way show love and support for these children who have been through so much.  If you would like to make snowflakes of any kind, whether paper, fabric, embroidered, mixed media, whatever, they can be mailed in time to receive them by January 12th, 2012 to
Connecticut PTSA
60 Connolly Parkway
Building 12, Suite 103
Hamden, CT 06514

So on with the tutorial.
Materials needed:
1 sheet computer paper
stapler, preferably not a small one
a sturdy pair of  paper scissors
invisible tape

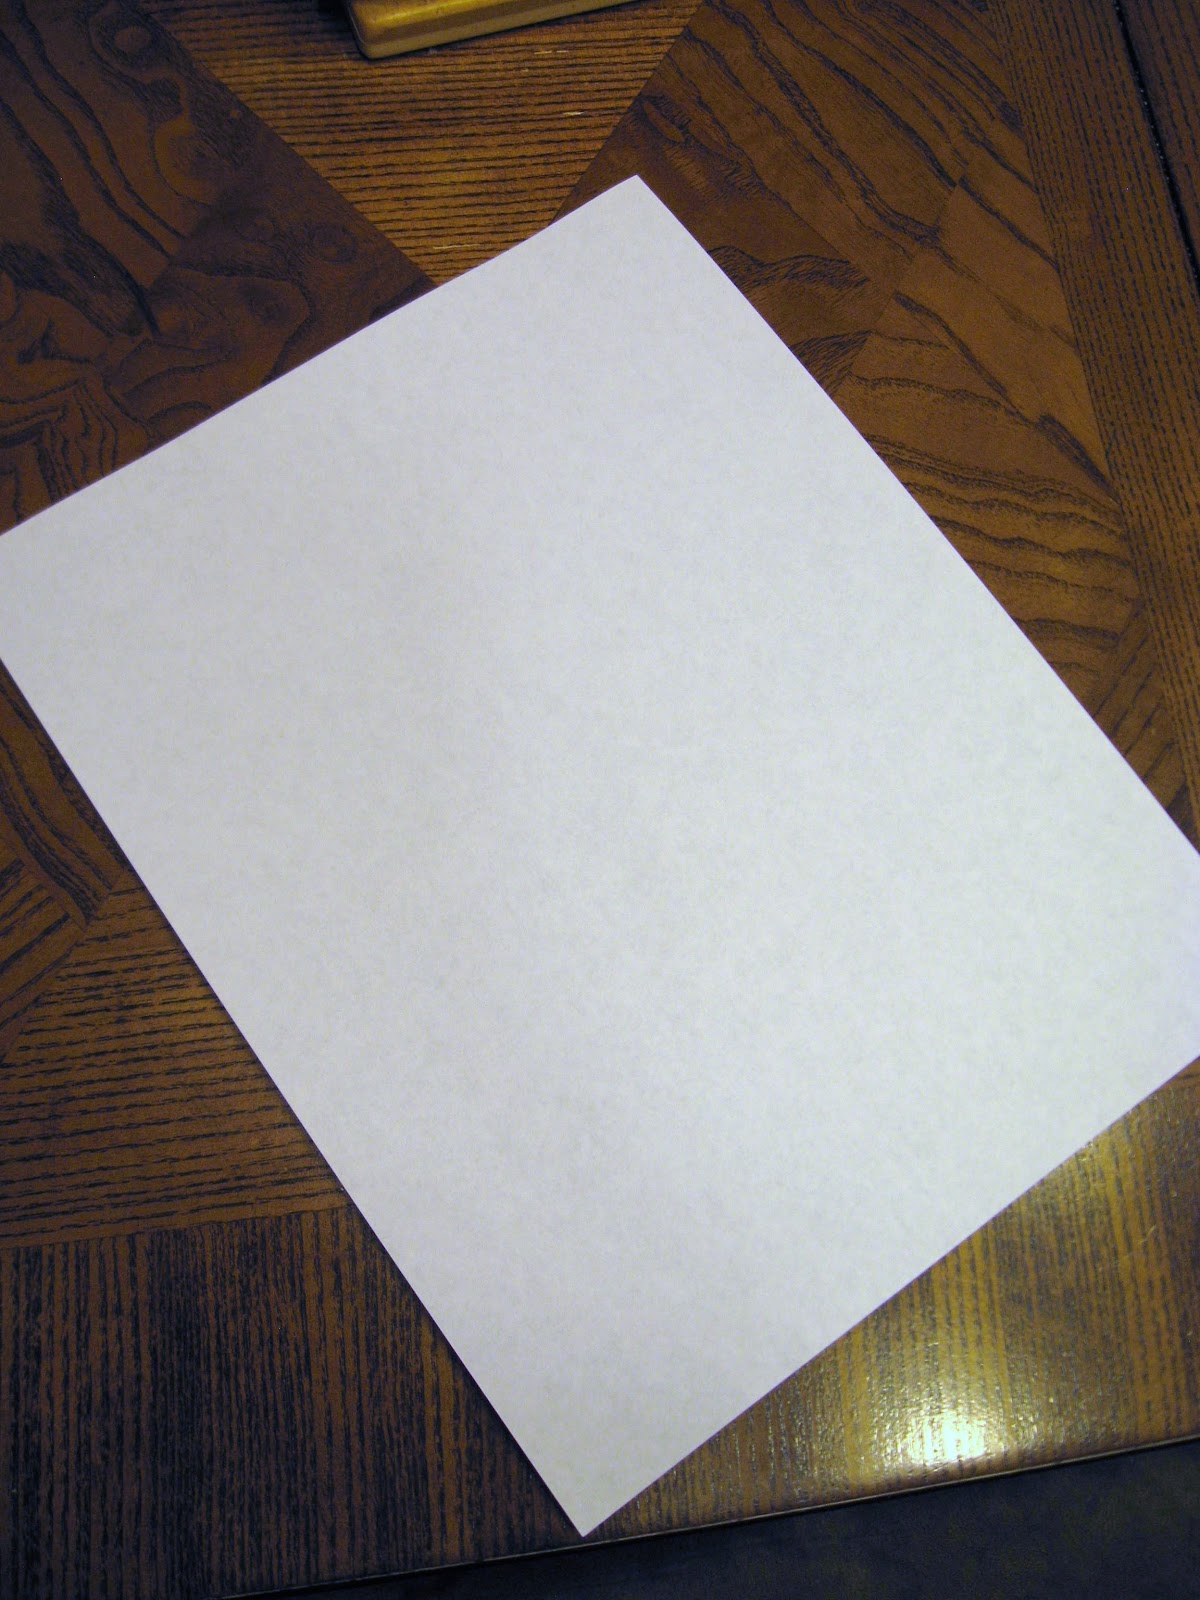
1.  Start with a regular sheet of computer paper.

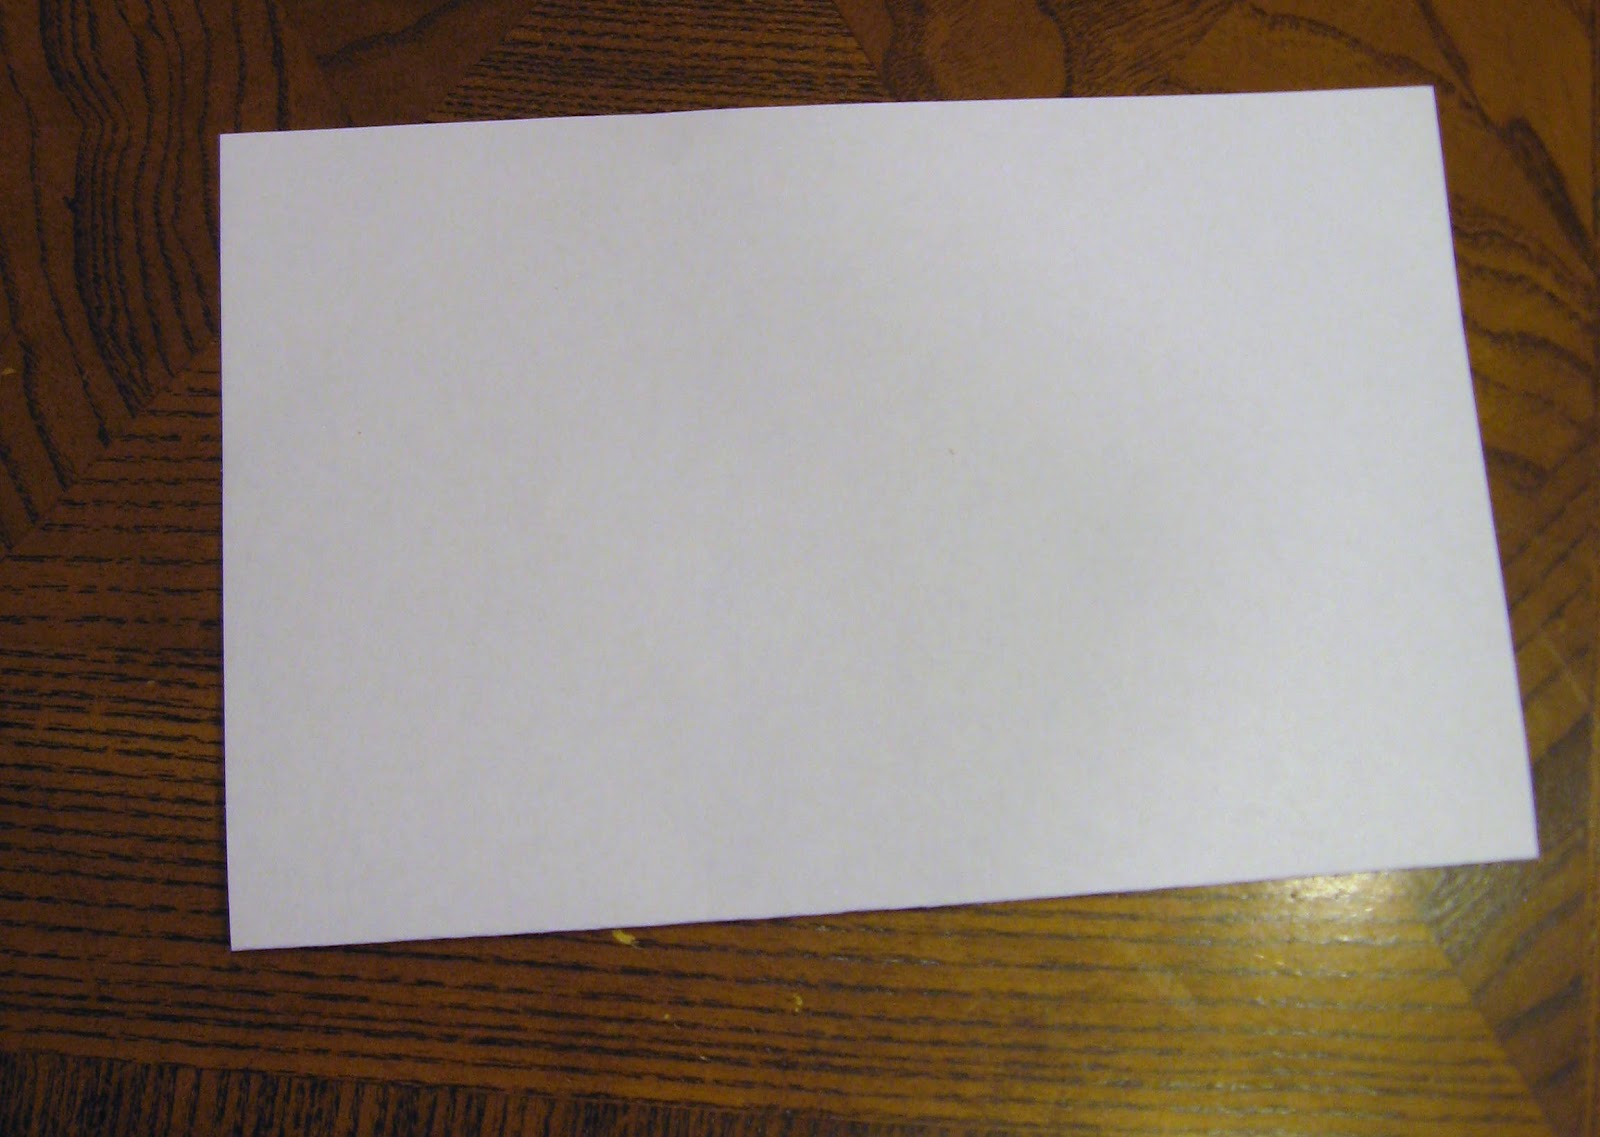
2.  Fold in half width-wise (hamburger, not hot dog for those of you that look at it that way)

3.  Open it up, and fold each half in to the center fold line and crease both sides.  You should have your paper folded into fourths, with all folds going the same direction.

4.  This part can be a little confusing, but I think it will make sense by the end of this step.  Fold the edge of the paper back until it meets the first fold line and crease.
 Now fold that fold line backwards to meet the center fold line.

Continue until you have a nice, tidy little fan.  All folds should alternate directions.  Make sense?  If any two consecutive folds go the same direction, it isn't right.  7th graders often had a hard time getting this part.

5.  Fold the entire fan in half lengthwise.

6.  Look at the ends of your fan.  If you are right-handed, hold it so the free ends are pointing to the left, as shown in the lower left of the photo below.  If you are left-handed, do this and the next step in the opposite direction.

7.  Cut a triangle off of the top at about a 45 degree angle, from the top right corner pointing down to the left.

It should look like this:

8.  Open it up and staple across the center.  Try to get your staple exactly on the fold line and parallel to it if you can.  My stapler is half-size and doesn't quite make it.  It still works this way.

9.  Re-fold in half and start cutting!  This is the creative part.  You can cut along the top edge if you want to, but you don't need to.

Note:  I recommend not going crazy with cutting too many shapes out of the shorter side--it makes finishing your snowflake easier.  I usually cut one shape out of that side.

Cut as many shapes as desired out of the longer side.

10.  Begin to open your snowflake and prepare to tape the edges together.  You want to tape anywhere that is connected by folds in other areas.
 Because I cut one shape out of the shorter side, I needed to use two small pieces of tape to connect the edges of the snowflake, one on each side of the hole.

You can kind of see in this picture how the tape just goes across the "seam" to hold the two sides together.

11.  Pull your snowflake all the way open, using your fingers to help it stay open.  I like to pinch in the middle to re-train it to fold this way.

 12.  Tape the other side together as you did the first, and you are done!

My favorite way to hang these is simply by taping a piece of white thread directly onto the snowflake.  It works great.

These can also be made with smaller sizes of paper.  The large one is made with a full sheet, the medium one with a half sheet (see note below) and the small one with a quarter sheet.  The small size is just about perfect for Christmas tree ornaments--just over 3" wide when finished and so cute!

If you want to make a medium-size snowflake, just cutting your paper in half makes it too long and skinny.  Cut about 1" to 1 1/4" off of one end first to make the proportions about the same as a normal sheet of paper.  I actually cut mine off just a little too much.  As a result, my middle snowflake wouldn't open all the way.  

 To remedy this, I cut small slits between the points to allow it to open more.  It worked great.

I hope you have enjoyed this tutorial!  I have loved making these over the years and I hope you do as well.

Wednesday, December 19, 2012

WiP: Long-Term UFO (and a couple of finishes)

A month or so ago I cut into my Maasai Mara fat quarter bundle that I picked up at the Sewing Summit Mixer.  I didn't get to go to SS, but Salt Lake MQG members were invited to the mixer that Friday night.  I wasn't sure what I was going to do with the fabric at first, but inspiration hit and I had to get started.  Then other deadlines came up and it has been sitting in a box.

I pulled it out tonight for a few minutes to work on it.  I've added a few solids to the mix, including Kona ash, water, and cactus, and a Kaffe Fassett shot cotton in navy that my LQS had.

These are going to be x strings blocks, but strip pieced to they can be more mass-produced.  I've got all of the strip sets laid out, about half of them pinned into pairs, the other half sewn into pairs, and tonight I finished one set.  I really like how it's coming along and I think it will look great when it's done.
This one is going back in a box for a while, as I've got another deadline before the end of the year.  I've got several other ideas floating around in my head that I think I might work on before this x strings gets done, so I've got a feeling this is going to be a UFO for a while.  I want to pull it out and work on it at least a little here and there.  I definitely want to have it done by the end of the summer, but other than that I don't have a deadline for this one.

So you know how when inspiration hits, you'd better fly with it?  Well, I was at JoAnn's a week ago buying flannel for the back of K's scrappy plus quilt, and spied some pink corduroy.  I'd been thinking about making a skirt for my munchkin, who LOVES skirts, so I picked up half a yard.  I had some leftover denim I'd wanted to turn into a skirt for her as well, so I did them both at the same time.  I used pink thread on both.  I'll say it was a design element on the denim, but really it was to save time. =)
 The skirts she has been wearing keep getting shorter as those little legs get longer, so I was aiming for 14" long to go to her knees.  The pink one, which I finished first, was only about 13", so I took a narrower seam between the yoke and the bottom part of the skirt on the denim one, as well as a narrower hem.  I'm actually surprised at how much bigger the denim one looks--they really are very similar in size in real life.

I designed this pattern myself to fit her measurements.  I put three soft box pleats on the front as well as on the back and they turned out really cute!  Altogether I think I spent maybe 3 hours on both of these.  I'm glad that they came together so quickly.  I hope they fit her well--she hasn't tried them on yet as they will be Christmas presents.  I think she will love them!

Linking up today at Work in Progress Wednesday at Freshly Pieced.

Tuesday, December 18, 2012

Finished Scrappy Plus Quilt AND Aprons!

I finished up my sister's plus quilt yesterday during my little guy's nap.  I had started it 8 days before, so I think that's pretty great!  I'm usually not so fast doing a whole quilt from start to finish.
 There are 70 squares, 6.5" finished, with the quilt ending up at 45.5" x 65".  It should be just the right size for my 5-foot-tall sister, K.  She's so cute and little. =)  I quilted it with a simple meander, and actually got the whole thing quilted in just over half an hour.  Score!  Fast and done is good one week before Christmas when you have to get something in the mail.

This quilt was made from leftover fabric from aprons that I make for my sister, who has cerebral palsy and is not the neatest eater.  When my Mom asked me last Sunday to make her a quilt, I said I'd be able to if I postponed the new aprons I was planning on making.  Well, last night after the kiddos were in bed I decided to see how much I could get done on the aprons anyway, and I am happy to report that I finished all 5 that I had cut out!  It was speed sewing the whole way, which works perfect for these because they will be used and used and used until they wear out.
 They really are more of an oversized bib, but work really well for what K needs.  When I made the first one many years ago I put a button closure on it.  We quickly realized that the hole was large enough for K to just pull over her head, so I never did another button--it works best for her if I just sew it together at the top.  I also used to use the same fabric on both sides, but she got confused about which side to have facing out, so I always do them with two different fabrics now.  K loves to coordinate colors, and will always try to wear an apron that matches her shirt that day.

My little guy had to get in this picture with one of his cars:

Here's my munchkin practicing using her scissors to cut the wrapping paper to wrap up the aprons.  She helped wrap the quilt first.  We got everything off to the post office, and it should arrive by the end of the week! (Insert huge sigh of relief here.)  I'm so glad that I was able to make this quilt for my sweet sister, as well as the aprons that she needed.  Some of her older ones are wearing out.  I hope she loves them!

Linking up to Link a Finish Friday at Richard and Tanya Quilts.

Saturday, December 15, 2012

Professional Seam Finishes Series #3: Flat-felled Seam, Two Ways

Flat-felled seams are traditional seam finishes for jeans.  These days many of the seams in jeans are just serged, pressed to one side, and topstitched, but it wasn't always this way.  Flat-felled seams are the traditional finishing method because they are very strong, and finish out flat with no exposed edges.  They do create some bulk, especially at the hem, but they are an easy seam finish that gives great results.  They are still used most of the time on the side seams of men's dress shirts.  My personal favorite way to sew them is actually inside-out, which I use almost all the time on side seams of shirts that I make for myself.  I'm currently working on making two skirts for my little girl, one denim and one pink corduroy.  I'll be showing standard flat-felled seams on the denim skirt, and inside-out flat-felled seams on the corduroy skirt.

Advance apologies: my camera didn't like taking really focused pictures of denim, so many of the denim pictures are slightly fuzzy.

1.  For a normal flat-felled seam, start  by sewing your fabric WRONG sides together with a 5/8" seam allowance.  Backstitch at both ends.  You can barely see my thread below--it's pink.  An inside-out flat-felled seam is exactly the same, except you start the normal way with your fabric right sides together.

2.  Trim the seam allowance of the back piece if this is a vertical seam or the bottom piece if it is a horizontal seam down to 1/4".  You can eyeball this measurement as just more than half of the seam allowance width.

Inside-out version: fabric right sides together, back seam allowance trimmed to 1/4".

3.  For both versions, press the seam allowances toward the back, over the trimmed seam.
 Be careful, especially on the inside-out version, that the other side of the fabric is really flat and doesn't have any bumps in the seam.  If it isn't truly pressed flat on the right side of the fabric it can look a little off when you're finished.

4.  Use your fingers to tuck the longer, top seam allowance around and under the shorter one.
 Both of these pictures show this partway done.  Do a few inches at a time and press as you go to hold in place.

Add pins to hold everything in place as you sew it.

For the inside-out version, it is actually slightly better if you put your pins on the right side of the fabric.  I failed to do that on mine, and it turned out okay. You want the outside of the seam to look best, so it's a good idea to pin and sew from that side if you can.  

5.  Sew 1/4" away from the first line of stitching, folding down the fold of the seam allowance.  This should be just shy of 1/8" inside the folded edge.  Hard to really tell in the photo where my folded edge is, sorry.

The finished view!  Two rows of stitching on the outside of the garment: a very strong, durable seam.

For the inside-out version, try to sew from the right side of the fabric if you can.  If you aren't comfortable doing that (you might sew off of the edge and not catch the fold) it is okay to sew from the back side.  This is what it looks like finished on the inside:

Here's what it looks like on the outside.  You can see the original seam and one line of stitching holding everything in place.

It may seam like this method takes a long time, but it actually can go quite quickly, especially on short seams.  Taking time to finish a seam properly will increase the quality and life of whatever it is sewn into.

Wednesday, December 12, 2012

WiP: Scrappy Plus Quilt

The night after my last post, my husband and I spent some time on layouts after the kiddos were in bed. I ultimately decided to go with a Plus arrangement.  As nice as random scrap quilts can be, I think this works much better with these larger squares.  A few of the colors in the different plus signs are a bit off, but that's okay  because it's scrappy, right?
I've got the top four rows sewn together, and it's going pretty fast.  That's good because the whole thing needs to be done in time to ship to Ohio before Christmas!  I hope my sister loves it!  

I'm also working on quilting a really cute quilt for Brooke right now, and it's coming along nicely!  It is also a Christmas gift so I'll wait to post pics of it until after the holiday.  I'm sure her sister will love it, it's a great design.

Related Posts Plugin for WordPress, Blogger...