Wednesday, September 25, 2013

On the Design Wall: Diamonds Baby Quilt

I'm so excited with the progress I'm making on my latest project. This quilt will be for my new little guy who will be making his appearance in November. It should finish up about 40" x 50".
Diamonds Baby Quilt on the design wall
I was originally thinking that the blocks would go together so easily, but my pregnant brain forgot that you can't just sew across a rectangle and have it end up still looking like a rectangle. Luckily I realized my mistake before I started sewing, and went back and fixed my error. I had cut large rectangles and small ones for the corners, so I trimmed the small ones 1/4" away from the two opposite points and used the small scraps to trim the large rectangles into diamonds with the proper seam allowances intact. Once everything was trimmed properly, it actually was really easy to sew up the blocks and get everything properly lined up. I was considering writing up a pattern for this quilt, but I decided that it would be a little more technical than I'd like to tackle and keep it free of paper-piecing. 
Diamonds blocks

My main fabric is Technicolor along with a few other prints thrown in. I'm loving how it's coming together! I'm hoping to get the top all sewn up this afternoon.
Diamonds blocks detail

I had some "help" while pinning the diamonds together.
Little helper
He really loved pinning. I let him keep playing after I was done and he took all the pins out while I wasn't looking. Boo. Luckily the re-pinning went quickly.
Little helper

I also made these bee blocks for Rachel this week. I love how they turned out! Her fabric choices were great--my lighting is just off a bit.
Rachel's bee blocks

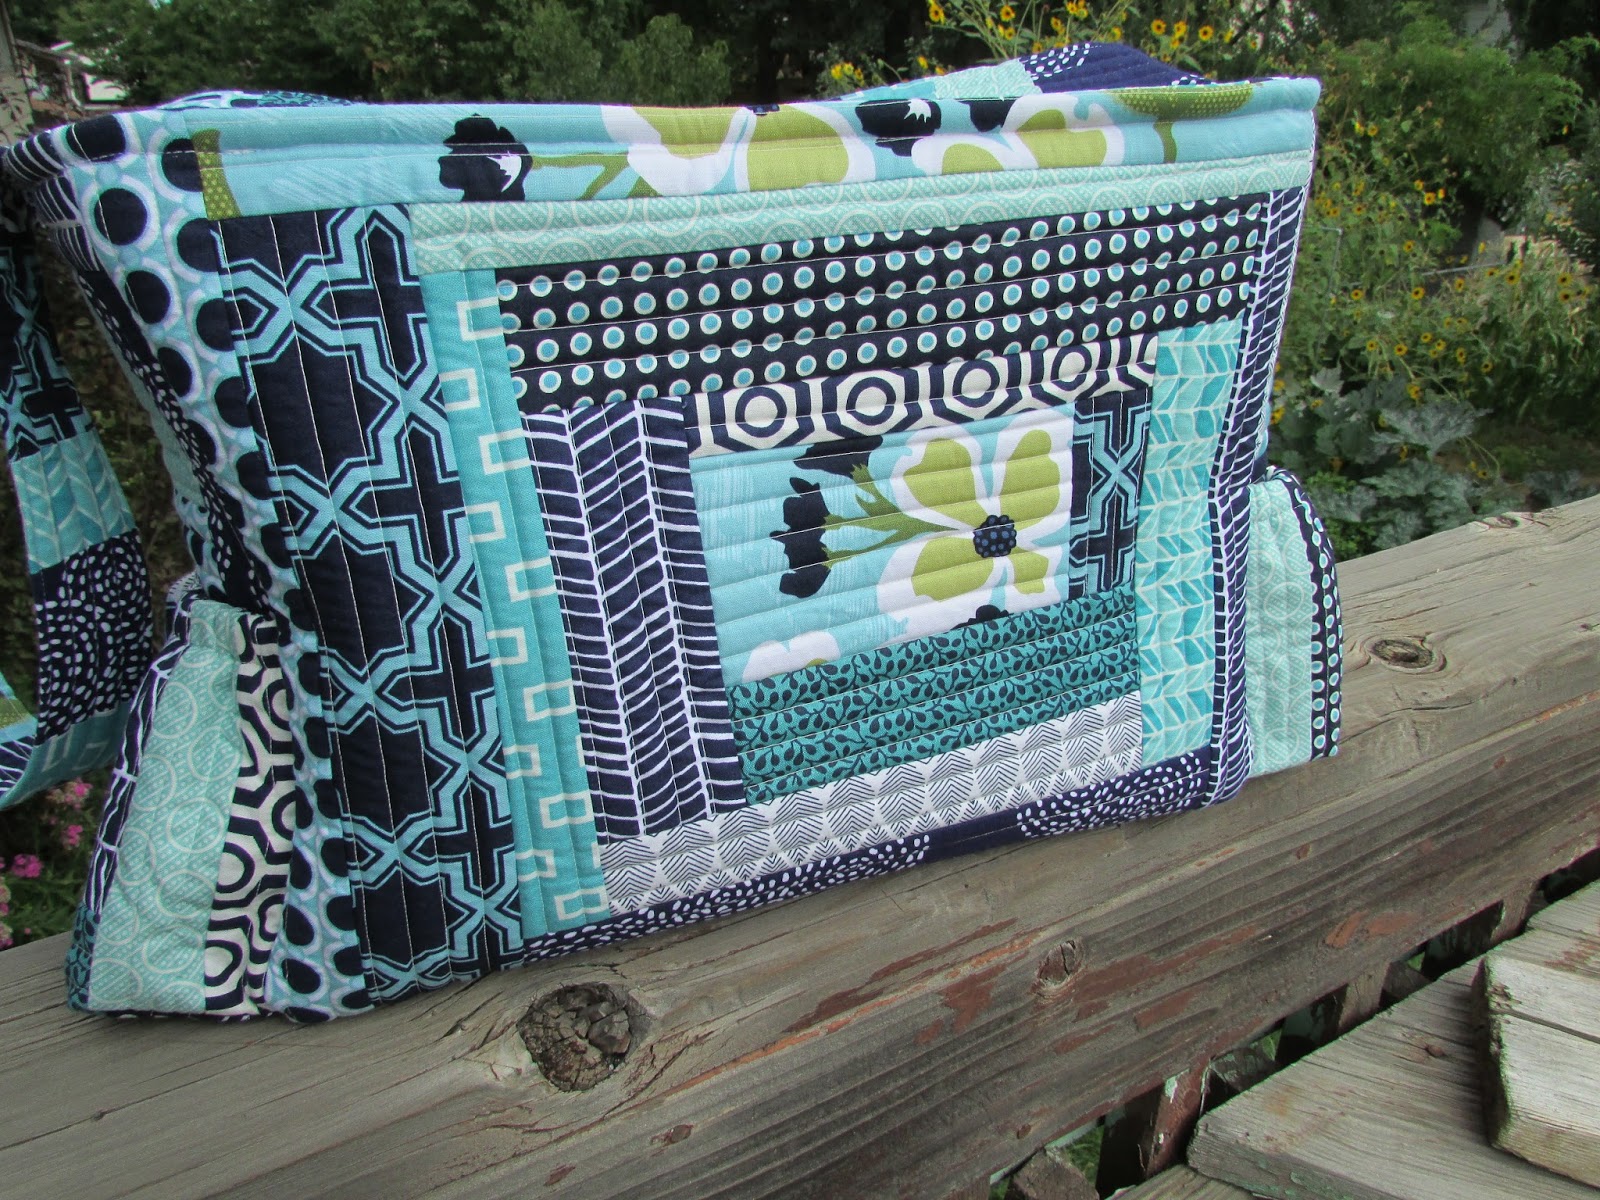
I also made a wonky log cabin block for a special project.
Wonky log cabin block (untrimmed)

It has been a really productive week! It feels good to make a lot of progress.

Friday, September 13, 2013

Finished QAYG Diaper Bag

I'm thrilled to share this finish today. This has been in the works in my head for quite a while, and took a couple of weeks of my sporadic sewing time to get it done. I couldn't be happier with the result.
 I used Soft and Stable in most of the areas of the bag to make it more sturdy. This was my first time using it and I love how it works! This shows the bag standing up completely by itself with nothing inside. Batting would have a much greater tendency to buckle on itself. I used batting for the side pockets and the skinny panel that goes around the inside top edge to make those areas softer. I put a piece of plastic canvas in the bottom for a good sturdy base.
 The main fabrics are from Joel Dewberry's Modern Meadow line, with a few thrown in from Emily Herrick's Technicolor, V and Co.'s Simply Style, a couple of DS prints, and the aqua herringbone is from Cloud9. The navy and white hexy print is from Camelot Cottons. I had to buy a whole yard of that one when I stumbled across it at my local quilt shop.
 I designed the pattern myself and I'm thinking of writing it up. It finishes at 15" x 6" x 11 1/2" high, and I think it's a wonderful size. The one I have that is on its way out is the same size and has been very useful for us. The end pockets are big enough to fit two bottles next to each other, or whatever else you may need to stash in there. So what do you think about a pattern? Is there any interest in that?
 I haven't actually done quilt as you go before and I loved experimenting with the different strip widths and seeing it all evolve as it came along.
To make the strap I pieced all of the strips together first, then kind of wrapped it around the Soft and Stable and top-stitched it from there. It was slightly more complicated than that, but it worked out well and I'm happy with the result. I had to think about it for a while to figure out how to get the QAYG look without any exposed raw edges.

 I'm officially at 30 weeks as of yesterday, so now I'm trying to resist the urge to start using this right away rather than waiting for our new little one to make his appearance.
With this out of the way I started cutting into my fabric for this guy's baby quilt. The navy fabric for the background was back-ordered for a while, so it delayed my starting on it as soon as I would have liked. I'm so excited about this one--I'll be sure to post updates!

Friday, September 6, 2013

Finished Notting Hill Dress

I actually finished this dress a few weeks ago but haven't taken the time to share it yet.
Notting Hill Dress 3
The pattern is a combination of a couple of different designs in "Little Girls, Big Style." The patterns in the book only go up to a size 6, and my little girl is growing so fast, I figured I'd better make it before she got any bigger! It wouldn't be hard to alter the pattern to a larger size, but I'm glad I didn't have to. This was my first time shirring and it went pretty well. I didn't get quite as much gathering as I would have liked, but it does have plenty of shape so I'm still satisfied with the results.
Notting Hill Dress 1
My munchkin likes her new dress! Little brother had to get in on the photo action too.
I love the 3/4 length sleeves and the bias plaid.
Notting Hill Dress 2
I'm linking up to "Finish it Up Friday" at Crazy Mom Quilts. Not a quilt this time, but who doesn't love Joel Dewberry fabric?
Related Posts Plugin for WordPress, Blogger...