
Knowing how to do gathers can really increase your ability to create beautiful things. There are several methods to them, and I'm going to show you two of them today.
This first method is the way that I've done my gathers for years and I get really good results. However, after doing the other method for the second half, I think I might switch to that way after all. There are only slight differences.
For this example, I am gathering up a ruffle and sewing it onto the bottom edge of a skirt, so I'm sewing a tube onto a tube. If you are doing something with raw edges that will be sewn onto something else later, there is a slightly different way to handle it, which I will talk about in the second half.
Step 1: Sorry, no picture for this, but it is ESSENTIAL. Mark matching points on your piece to be gathered and your piece that you will be sewing it onto. If you are using a pattern there will often be notches. If you aren't using a pattern, at least mark the centers and sides, and if it is very large, fold each half in half again to mark the points 1/4 of the way from each end. I make my marks for this by making small snips in the edge of my fabric, just over 1/8" deep. Do not cut your snips larger than 1/4".
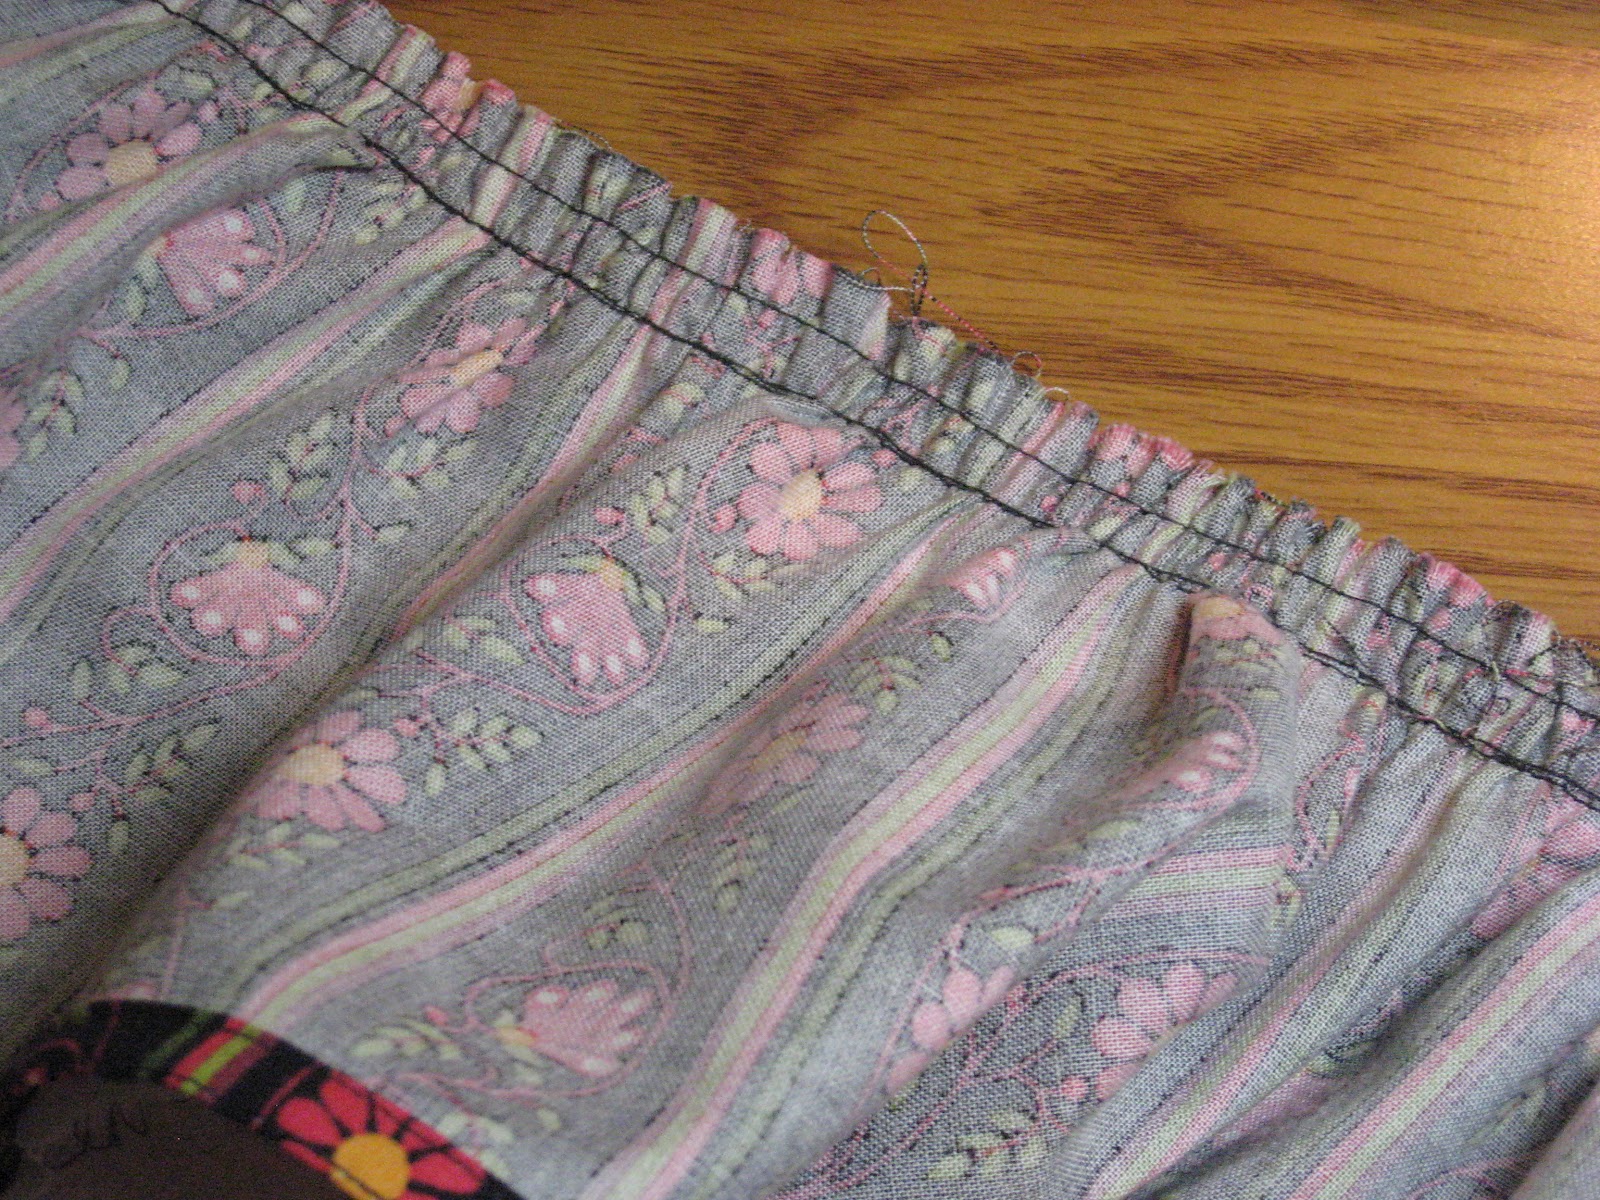
Step 2: Using a long stitch length (basting stitch), about 5 or 6, start near the side seam of your fabric or on the end, and sew all the way around at 5/8". Do not backstitch, and be sure to leave thread tails at least 3" long on each end. You may find it helpful to hold your thread tails out of the way for the first few stitches so you don't accidentally sew over them. Then sew around again a second time, this time at 1/4". Start and stop sewing in about the same place you did your first row, and try not to sew over your tails. If you are sewing around a tube, like I am here, when you get back around to where you started, sew over your first 3-4 stitches, being careful not to tangle your thread tails. Holding them out to the side is usually enough. This will help to camouflage where you started your gathers and avoid flat spots.

Step 3: Match and pin all points that require matching: centers, side seams, notches, etc. You can see a tiny spot where I clipped my fabric right under the pin.

Step 4: Locate your thread tails and organize them. Figure out which ones go which direction. Make sure that the thread tails are on the same side of the fabric as the stitches they have formed. You should have a top thread tail on the top of the fabric, and a bobbin thread tail on the bottom side of the fabric. If one got pulled to the other side, pull it back through. This is also what your extra 3-4 overlapping stitches are for.

Step 5: Grab both thread tails on one side and pull them to start gathering up your fabric. Try to pull them at the same rate to help things stay even. In a pattern it says to pull the bobbin threads. I've found that it doesn't matter which threads you pull as long as you are consistent. Either pull all bobbin threads, or pull all top threads.


After you've pulled that side for a while, switch to the other set of thread tails and pull those. IMPORTANT: Make sure that if you were pulling the bobbin threads, you are still pulling those. If you switch at this point and pull the top thread instead, your stitches will get very tight and you won't be able to do anything. It will take you forever to unpick and you will want to cry. Don't ask me how I know.

Step 6: I usually work on making my gathers even in quarters. If you are doing something really large and you marked it into eighths, work on those sections. I start with one of the sections farthest away from where I started and stopped my basting stitches. Push your gathers around in that section until they look even, and pin like crazy. I usually pin gathers about every 1 1/2 inches. Sometimes even more often. Be sure to match your edges. You want your gathered fabric to lie smoothly compared to your ungathered fabric. This may take a while to get just right! That's okay! Try really hard to avoid tucks, flat spots, or areas that are super tightly gathered. Take your time to make it as even as you can. Having your centers and sides marked will really help you evenly distribute the fullness across the full width of your gathers.

Tip: When you are working on the sections closest to where you started and stopped your basting, you're going to have really long threads sticking out, and the gathers tend to fall off the ends. When you have your tails pulled up just right so your gathered fabric is just the right length, wind your thread tails around a pin a couple of times to hold them in place. In this picture I secured the threads to keep them in the right spot, then I went back afterwards and evened out the gathers. You can see on the left side a very flat spot next to a very gathered spot. It didn't look like that when I was done.

Here's another flat spot. Move your fullness around, even through pinned spots if you have to. You should be able to push or pull the fullness right past a pin.

Step 7: When your gathers are evenly spaced and pinned all around, you are ready to sew. If you aren't sure your gathers are just how you want them, sew them first using a basting stitch, 5 or 6. If you are pretty confident with them, just go ahead and use a regular stitch length. Sew around at 5/8", being sure to backstitch when you start and stop.

Do what works for you, but I find it MUCH easier to do this step with my gathered fabric on top. Even though I've pinned it all over, I like to see how things are going, and the gathers tend to shift. If you do them with the gathers on the bottom side the feed dogs may help feed it through, but you lose a bit of control. See what works best for you.

Tip: If you are sewing along and part of your fabric tried to fold itself underneath, like this, STOP! Keep the needle down, raise your presser foot, and pull your gathered fabric out to the side to readjust it.


Step 8: After you've sewn all the way around, check the other side to see how you did. If you have an little tucks, probably let those slide. If you have any really big ones, you might want to fix them. I always have threads from my fraying edges poking through, so this is a good time to go back and remove those as well. You will probably have some of your basting stitching showing. If there are any spots that it is noticeable, remove them as well. If this bugs you, see the next method to be able to skip this part.

That is the way I've always done it, and it looks good. I'm thinking I actually like my second method better now, so keep reading.
For my second method, most of the steps are the same, so I'll try to not be as wordy here. Note: This method is NOT recommended for fabrics that show pin marks very badly.
Step 1: Same as above.
Step 2: Same as above, except you will sew 3 lines of basting stitches, at 1/4", 1/2" and 3/4".

Step 3: Same as above. Pin ends and/or centers.
Steps 4 and 5: Same as above. Pull all bobbin threads (or top, whatever you choose) to gather up your fabric.


Tip: If you have raw edges the ends like I do in this example, do not gather in the seam allowances. Pin 5/8" away from your ends (or 1/2" or whatever your seam allowance is) and stop your gathers there. Wind your thread tails around the pin to secure when you are ready for that.

All of the gathers are shown here evenly spaced across the fabric. Three rows of stitches really make it easier to manage and get your gathers even. Trust me. If you're ever tempted to try just one line of stitches, it will be much harder to get it even! Another advantage of three rows of stitches? If one of your threads happens to break, which does happen sometimes, you've got two backups.

Step 7: Baste if desired, or sew with a regular stitch length at 5/8". You should be sewing between the 1/2" basting line and the 3/4" basting line. Because you are doing this it makes things lie flatter, and you're much less likely to get tucks as you sew along.

Here it is stitched in place.

Step 8: A little different for this method. If you look at the right side, you've got a whole row of stitches showing. In the other method I sewed right on top of the basting stitches, which made just a few of them show, and made them hard to remove. Here, all of them are showing, but they are EASY to remove. I like that. This is the edge of my gathered fabric, so you can see my flat, ungathered seam allowance.


Go back to the other side, and the other thread, now that the first thread has been removed, should come right off. Easy peasy.

It seems like extra work to put in the third row of stitching when you're just going to remove it anyway, which is probably why I always used the first method for so long. However, I always found myself having to pick out stray stitches here and there with my seam ripper, and it actually took much longer to do that than to remove the third row of stitches. I think I've actually converted myself back to doing it this way.
In the next few days I'll be adding a way to do a really nice seam finish specifically for gathers so the edges won't fray either. Please come back and check it out!
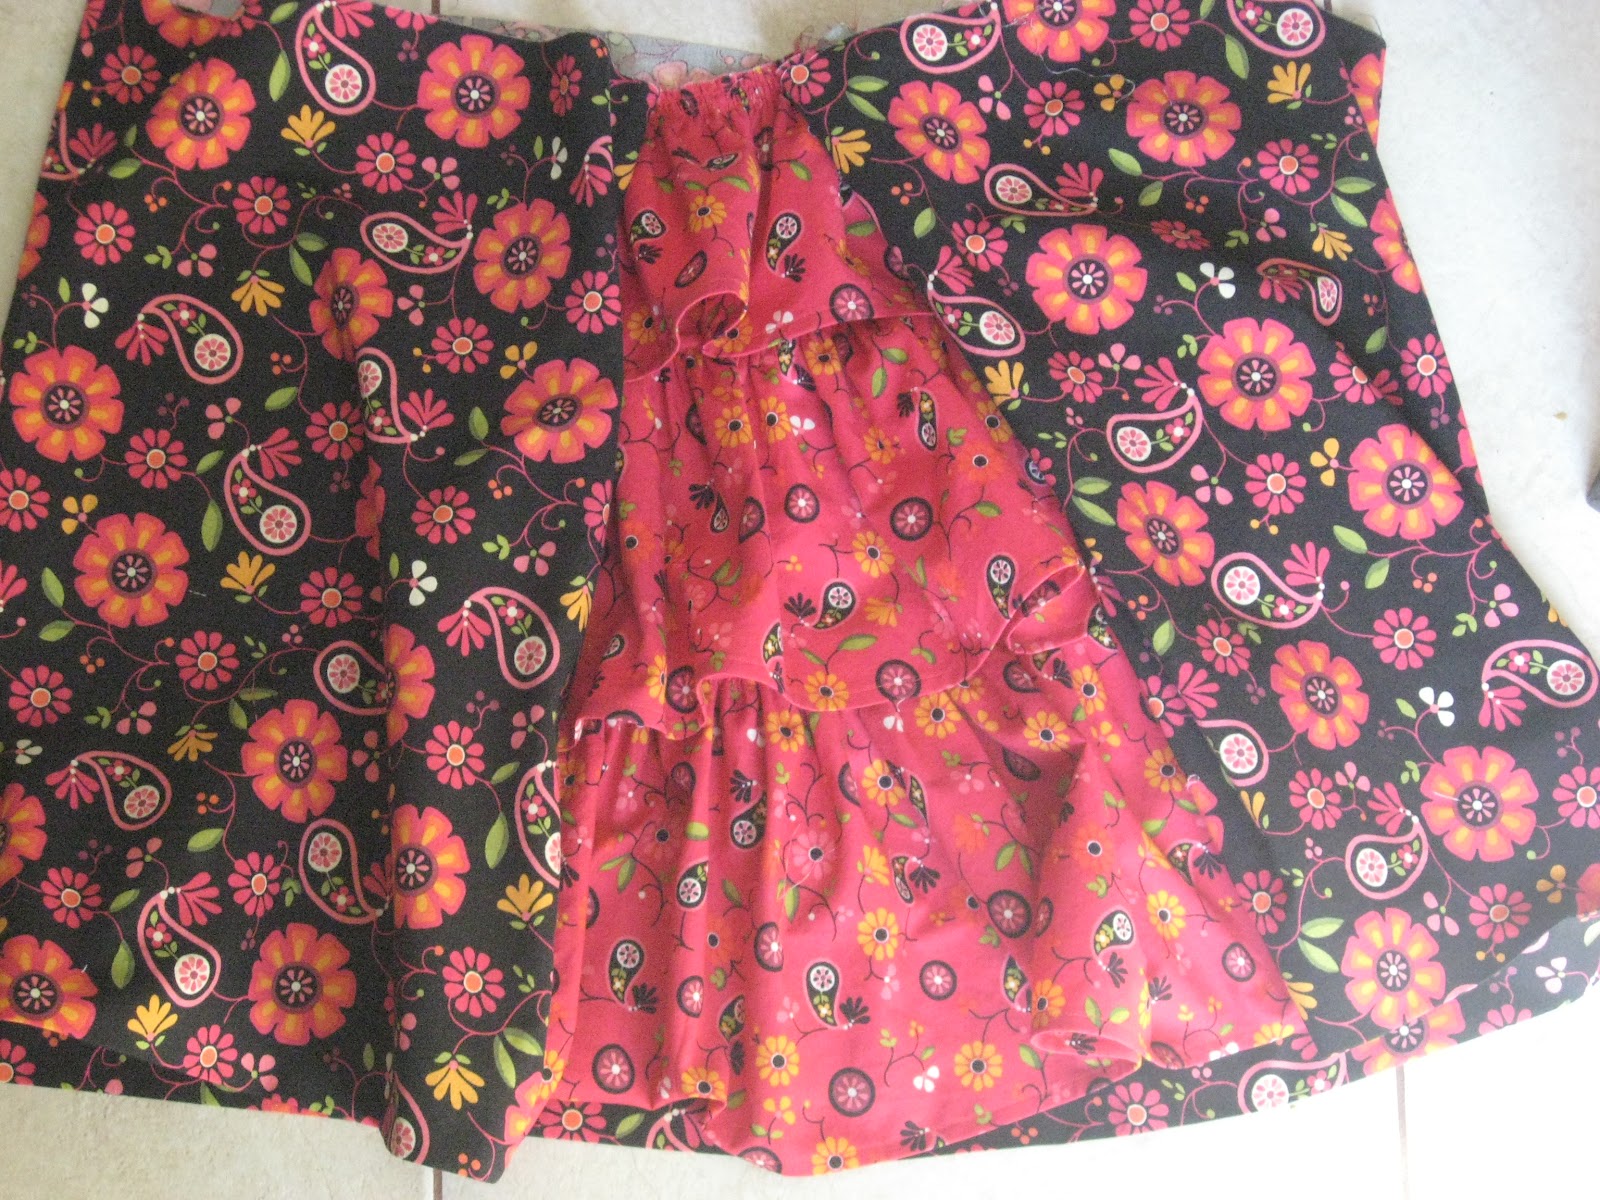
Here's a finished ruffled panel on the back of a dress I'm working on for my daughter. I'm excited for this one! I just love ruffles. So girly and fabulous.
No comments:
Post a Comment
Thank you for taking time to leave a comment! They make my day!