Monday, August 11, 2014

Sewvivor Challenge #1: Nautical--The Mermaid Dress

So do you remember how I was entering the "Sewvivor" competition? Well, I am thrilled to say that I was accepted as one of the 16 contestants! What an honor! I've been following all of the sneak peeks on Instagram, and let's just say I have been anxiously waiting for this day to come to actually see what everyone has made. They all look amazing.

Did I mention I'm finally on Instagram now? You can follow me @thequiltingmill if you'd like to. I'm not the best blogger, but I've already decided that sharing quick things on Instagram is the way to go.

For those of you following Sewvivor you know that the first challenge had to be anything quilted that is nautically inspired. Traditional "nautical" really isn't my thing. At all. Like, so much that I almost didn't try out for the competition. Luckily I quickly got an idea for something outside the box for this challenge. Way outside. My 5-year-old daughter has been pretending to be a mermaid all summer and wanted a mermaid tail to dress up in. She even made instructions for me how to make one.
First step: cut out the front and back of the tail. Second: cut triangles for the fins. Third: I think that's a picture of thread, but I'm not totally sure. Fourth, sew the fins onto the tail. Sounds simple enough, right?

 She jumped up and down with excitement when I told her I would finally make one for her. I decided to make a whole costume rather than just a tail, because what would she wear with it? Nothing I could think of would be cute. So I give you, the Mermaid Dress!

I have to say that an extra-special thanks goes out to my sweet friend Danielle for most of the photography! Taking great pictures is not my strong point and I really appreciate her help. Now, more about this mermaid!

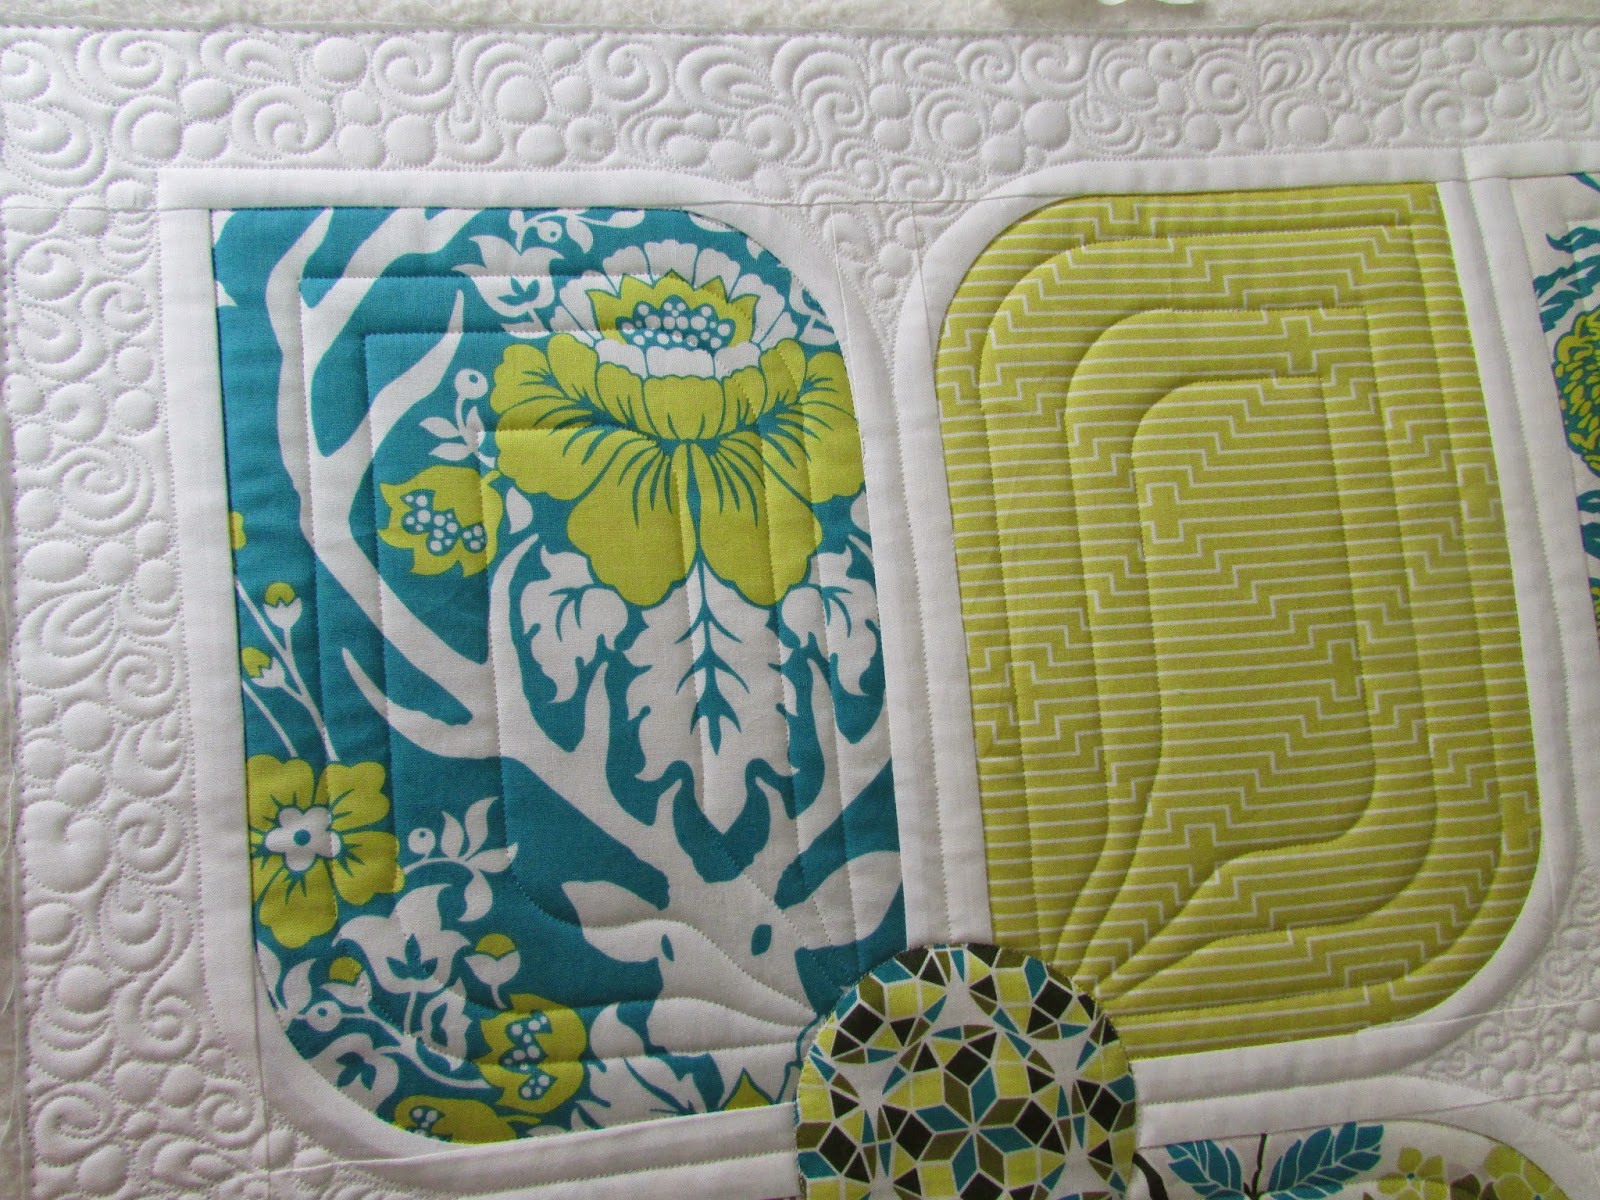
After picking out fabric with my munchkin (of course all pink), I got started quilting some satin for the main part of the tail. I marked horizontal lines using my channel lock and a blue marker, and some reference points across the top line, and then quilted in the scales for the tail. I used Winline 80/20 batting and Kona White on the back.

I thought this view from under the longarm was just cool.


Although her instructions were pretty great, I used the somewhat hideous McCall's 5498 as a jumping off point. I made a few alterations including different sleeves, changing the tail length and shape, and overhauling the fins. I cut the tail portions out of the quilted fabric that I created. I am really pleased with how everything turned out, and my munchkin sure loves it! She chose a tulle with a concentric circle pattern made with glitter for the "shiny parts," and glitter is now all over my house. Everywhere. I've found it in some, um, *interesting* places, and I'm sure we'll continue to until long after she outgrows this costume.

In addition to the tail I also quilted veins into the fins, stabilizing the tulle with several layers of organza to maintain at least a little translucency. I loaded the layers on my longarm all at once, traced the outlines of my fin pattern, then quilted in the veins. I cut them out after they were quilted.

I LOVE how the tail and fins turned out. The fins on the original pattern were in serious need of help, and I'm much happier with this version.

The morning of our photo shoot I told my munchkin that I was going to try to do something special with her hair. My creative girl asked if she could draw some pictures of mermaid hairstyles so I would know how to do it right. I just love this picture that she drew. It was too cute not to share. She tells me that the largest one close to the middle has a big beard. Unfortunately I was reminded that I'm terrible at doing hair and was unable to create what I had envisioned, or any of her drawings for that matter. She still looked cute and had a lot of fun being a mermaid.


I had so much fun working on this challenge! It was great to have an excuse to take the time to make something special for my daughter that I may not have otherwise. I have one very happy girl! And yes, she can walk in it.


And now some photo overload. In some of these she's making odd faces, or her Tinkerbell and friends temporary tattoo is especially visible, but there are some more views of details that don't show as well in the other photos.


And, just because, here's a picture of little brother throwing a rock in the water, and I actually took it at just the right moment to get the rock in the frame. I'm probably more proud of this than I should be.

If you haven't yet, please go check out the main post for challenge #1  and vote for your FIVE favorite entries. If one of them happens to be a quilted mermaid dress, that would be fine with me! Thanks so much for reading! I hope to see you in round two, because I've got some great ideas!

Friday, July 18, 2014

Purple Scrappy Trip Around the World Finish

I have loved so many of the scrappy trip around the world quilts that I've seen that I just had to make one. However, I don't have as much time to sew my own stuff lately as I'd like, so I had to figure out a way to modify it. Another thing I didn't like about the traditional pattern was the amount of waste you had if you tried using entire widths of fabric--you could make two blocks but then you'd have 11" or so left and I found that frustrating.

 I solved both of those problems by increasing my strip width from the traditional 2.5" to 3.5". Doing this made the blocks finish up at 18", so only 20 blocks made a 72" x 90" quilt. Perfect.
 With the 3.5" strips, you need 21" (plus extra for squaring up) to cut all six sections for the block. It was perfect to cut widths of fabric in half or to cut strips from fat quarters. Seriously, perfect.
 I've been working on this on and off for a few months, but it seriously went together so quickly. Scrappy trip blocks are already really fast, and making them bigger just made that even more true.
 I used a Joel Dewberry voile on the back and it is SO SOFT. This may be my favorite quilt to use from now on. I seriously love it. A scrappy binding finished it off nicely.
 I quilted allover feathers on the whole quilt. I wanted to practice them and this was the perfect opportunity. The busy patterns on both the front and back hide my imperfections nicely, but I'm really pleased with how they turned out. I haven't had a lot of experience with feathers, but I'd feel comfortable to put them on a customer quilt now.
I'm linking up today with Finish it Up Friday and Link a Finish Friday.

Sewvivor--The Quilting Mill--Barbie Mills

This year's "Sewvivor" competition is all about quilts! I decided I just had to enter. I would love to participate in the challenges and I have a really unique idea for the first one, so I hope I get in! I had a difficult time deciding which item to enter, but ultimately it was my Rainbow Dresden Ripples quilt.


I love everything about this quilt. I designed it myself using a dresden ruler and parallelograms to make it appear as if it is full of curved seams, but every seam on the quilt is straight.


I used two identical Kona jelly rolls to make it. 


I quilted a different pattern in each of the 40 different colors. It was SO MUCH FUN! It was a great challenge to come up with 40 different designs that would work in curvy shapes.


I used Peppered Cotton from Studio e on the back. It is so, so soft. Someday when I'm ready to wash this quilt and use it regularly, it will be super snuggly. A black and white print seemed like the perfect binding.

I matched the thread colors to the colors on the front. I love how the different designs show up so well on the back.

This is one of my favorite close-up shots. I used a variety of free-motion work and rulers to get all of different designs.

I would love to get to compete in the Sewvivor Competition!

Monday, May 19, 2014

Rustique Medallion Quilt by Emily Herrick

I had the honor of quilting this fabulous quilt for Emily Herrick to hang at International Quilt Market this past weekend. Her new fabric line is called Rustique and I LOVE it. Her colors are so saturated, and her geometric prints are just fantastic. This is one of the new lines with deer in it. Did you see pictures of Harvey in her booth? Talk about patchwork!


I had SO MUCH FUN quilting this. The design had so many areas that just screamed for different quilting designs. In the borders I did s-curves in the direction of the chevrons, and a little flower in the center square. The sashings all had ribbon candy quilting.

I kind of felt like Angela Walters quilting these motifs dot-to-dot style.

The flying geese got some continuous curve quilting. The background had tiny swirls. Aren't those fabrics fantastic?

In the center star medallion I repeated the s-curve quilting that I did in the top and bottom borders, tying it all together.
I absolutely love how this quilt turned out, and I especially loved seeing pictures of it hanging in Emily's booth. Thanks Emily for asking me to do this for you!

Friday, May 16, 2014

Blogger's Quilt Festival: Prairie Petals Quilt in Birch Farm

Are you at Quilt Market? Me neither. I did have the opportunity to make a quilt to go to Market, and I'm excited to enter it in the Blogger's Quilt Festival. This quilt was designed by Joel Dewberry to highlight his new fabric line, Birch Farm. I'm pretty sure the fabric will be available in July. This is good news for Deer Valley fans--the antler damask print is back in new colors!

 I didn't get any photos of the finished quilt, as Joel's wife Laurie literally pulled into the driveway to pick up the quilt as I was cutting the last threads from the binding. My friend JaNean found a pic of it all finished on Instagram--you can see it here. (Thanks again, JaNean!) Luckily I did get some pictures the night before after finishing the quilting.

I used some drunkard's path templates to cut the curved edges without breaking up the large prints. It would have worked to applique them as well, but this was faster! The design reminds me a lot of dogwood blooms, although not exactly.
 The goal in quilting this was to not detract from the fabrics at all, so I did a simple echo inside the petals using a clear monofilament thread, and stitched in the ditch at the same time.


 The blocks have a 1" sashing, so I quilted a line straight down the middle and curving 1/2" around the edges to give the effect of white edges on the flower petals. I did teeny pebbles, swirls, and clamshells in the diamond shapes between the flowers. That space is less than 3" square. I did a similar design in the 2" wide border, but a little larger.

This picture shows the quilt in progress, still needing two sashings and borders, but shows most of the design better than other photos I got. I really like the flowers.

I fussy-cut each of the center circles in an attempt to optimize the fabrics. There are some FABULOUS geometrics in this line and those were especially fun to fussy-cut.

A little more detail, during the quilting.

The quilt finished up at 51" by 72", which technically makes this go in the large quilt category in the festival. I'd call it more of a medium, but that's okay.

It was such an honor to be asked to make this quilt. I especially loved being able to do the tiny detail quilting--I don't get that opportunity very often with my current client base, so it was nice to change things up a bit. I love how this turned out, and I hope that Birch Farm is wildly successful at Market and after. If you happen to see any more pictures of this quilt there, please let me know! I'd love to see them too!

Blogger's Quilt Festival: Rainbow Dresden Ripples

Welcome to my little corner of the Blogger's Quilt Festival! Thanks so much to Amy for hosting again!

I've been quiet on the blog lately, but I'm so thrilled to share this quilt with you! I've had the design in my head for about two years, and it has been wonderful to see it all come together. This entry is part of the ROYGBIV Quilts Category in the festival.

 To make this quilt I used two identical Kona Jelly Rolls and a dresden ruler. The whole thing is made with straight seams, even though it gives the look of curves. I'm planning to write a pattern for this but it's kind of intimidating! I hope I can get past the intimidation soon and just do it.

 I used a fun black and white print for the binding.

The back is Peppered Cotton by Studio E in charcoal. It's SO SOFT! It's just a little heftier than other shot cottons, which I think is a good thing. I love how all of the quilting shows up so well on the back.


Each of the 40 colors is quilted with a different design.


I matched the thread colors as well as I could--there were a lot of thread changes for this one!


I had SO MUCH FUN quilting this. I didn't have time to get bored with any of the designs. One of my favorites was the geometric Greek key design just below.


The top took 20 hours to piece over a 3-day marathon sewing weekend and it took 10.5 hours to quilt, including stitching in the ditch on the whole quilt. I absolutely love how it turned out! This is one of mr favorite quilts ever.

I'm also linking up to Finish It Up Friday today.

Thanks for stopping by!


Friday, February 21, 2014

Finished: Dragons Quilt

I've been trying to figure out what to call this, and I just can't come up with anything clever. So Dragons Quilt it is.

I made this for my 9 year old niece, who is a big dragon fan. My sister suggested "pinks, purples, and dragon-y greens." I ended up with purplish pinks and I like it. I tried to choose fabrics that reminded me of castles (brick fabric from Kate Spain's Central Park line) or dragon scales. 
 This is a big quilt. It's 68" by 96". I was originally planning on no sashing and a green border, but when I had it all laid out it was way too pink. Putting the green in between the blocks made a big difference. However, that made the quilt bigger than expected. I was still planning to add a border, but it would have been WAY too big for a twin size bed, so I just left it off. I'm not a huge fan of sewing borders on, so that was fine with me.

The blocks are from Don't Call me Betsy's Weathervane Block tutorial. They alternate with plain squares that I quilted dragons into. More info on the dragons can be found here in my previous post.
 I quilted flames and curling smoke coming out of the dragons' mouths. I love how this turned out.
The pink fabric to the left of this pieced block is the one that looks most like dragon scales to me--it has geometric hearts on it, and they look so much like scales! I was really happy to find that one.
I hope my niece loves it! I've been working on this off and on for over 4 months, and it feels so good to have it done.
I'm linking up today to Finish it Up Friday and Link a Finish Friday.
Related Posts Plugin for WordPress, Blogger...