Wednesday, September 25, 2013

On the Design Wall: Diamonds Baby Quilt

I'm so excited with the progress I'm making on my latest project. This quilt will be for my new little guy who will be making his appearance in November. It should finish up about 40" x 50".
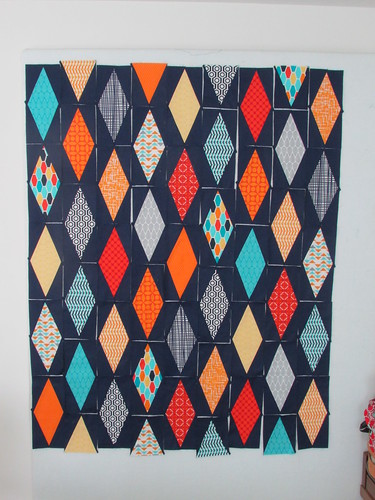
Diamonds Baby Quilt on the design wall
I was originally thinking that the blocks would go together so easily, but my pregnant brain forgot that you can't just sew across a rectangle and have it end up still looking like a rectangle. Luckily I realized my mistake before I started sewing, and went back and fixed my error. I had cut large rectangles and small ones for the corners, so I trimmed the small ones 1/4" away from the two opposite points and used the small scraps to trim the large rectangles into diamonds with the proper seam allowances intact. Once everything was trimmed properly, it actually was really easy to sew up the blocks and get everything properly lined up. I was considering writing up a pattern for this quilt, but I decided that it would be a little more technical than I'd like to tackle and keep it free of paper-piecing. 
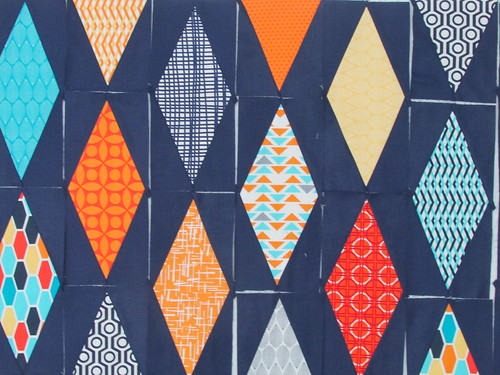
Diamonds blocks

My main fabric is Technicolor along with a few other prints thrown in. I'm loving how it's coming together! I'm hoping to get the top all sewn up this afternoon.
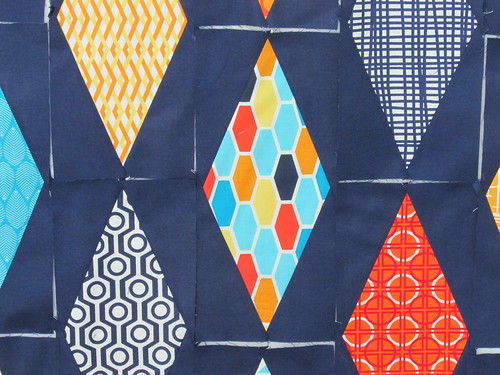
Diamonds blocks detail

I had some "help" while pinning the diamonds together.
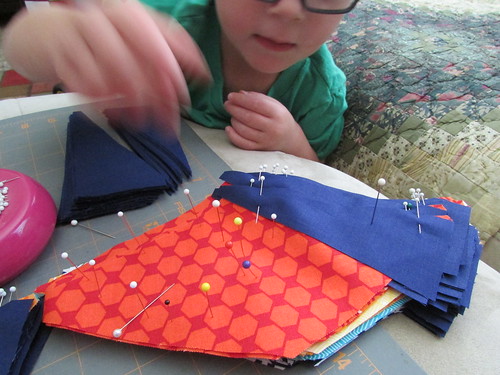
Little helper
He really loved pinning. I let him keep playing after I was done and he took all the pins out while I wasn't looking. Boo. Luckily the re-pinning went quickly.
Little helper

I also made these bee blocks for Rachel this week. I love how they turned out! Her fabric choices were great--my lighting is just off a bit.
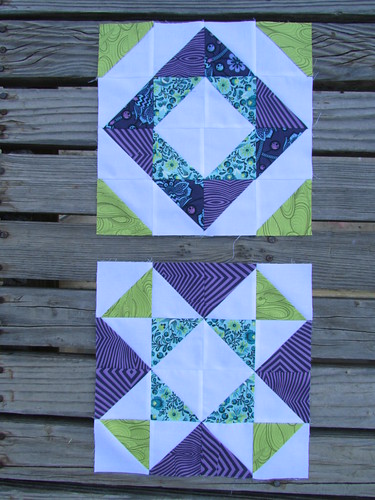
Rachel's bee blocks

I also made a wonky log cabin block for a special project.
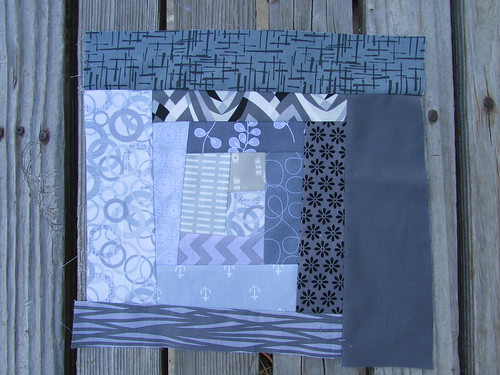
Wonky log cabin block (untrimmed)

It has been a really productive week! It feels good to make a lot of progress.

Friday, September 13, 2013

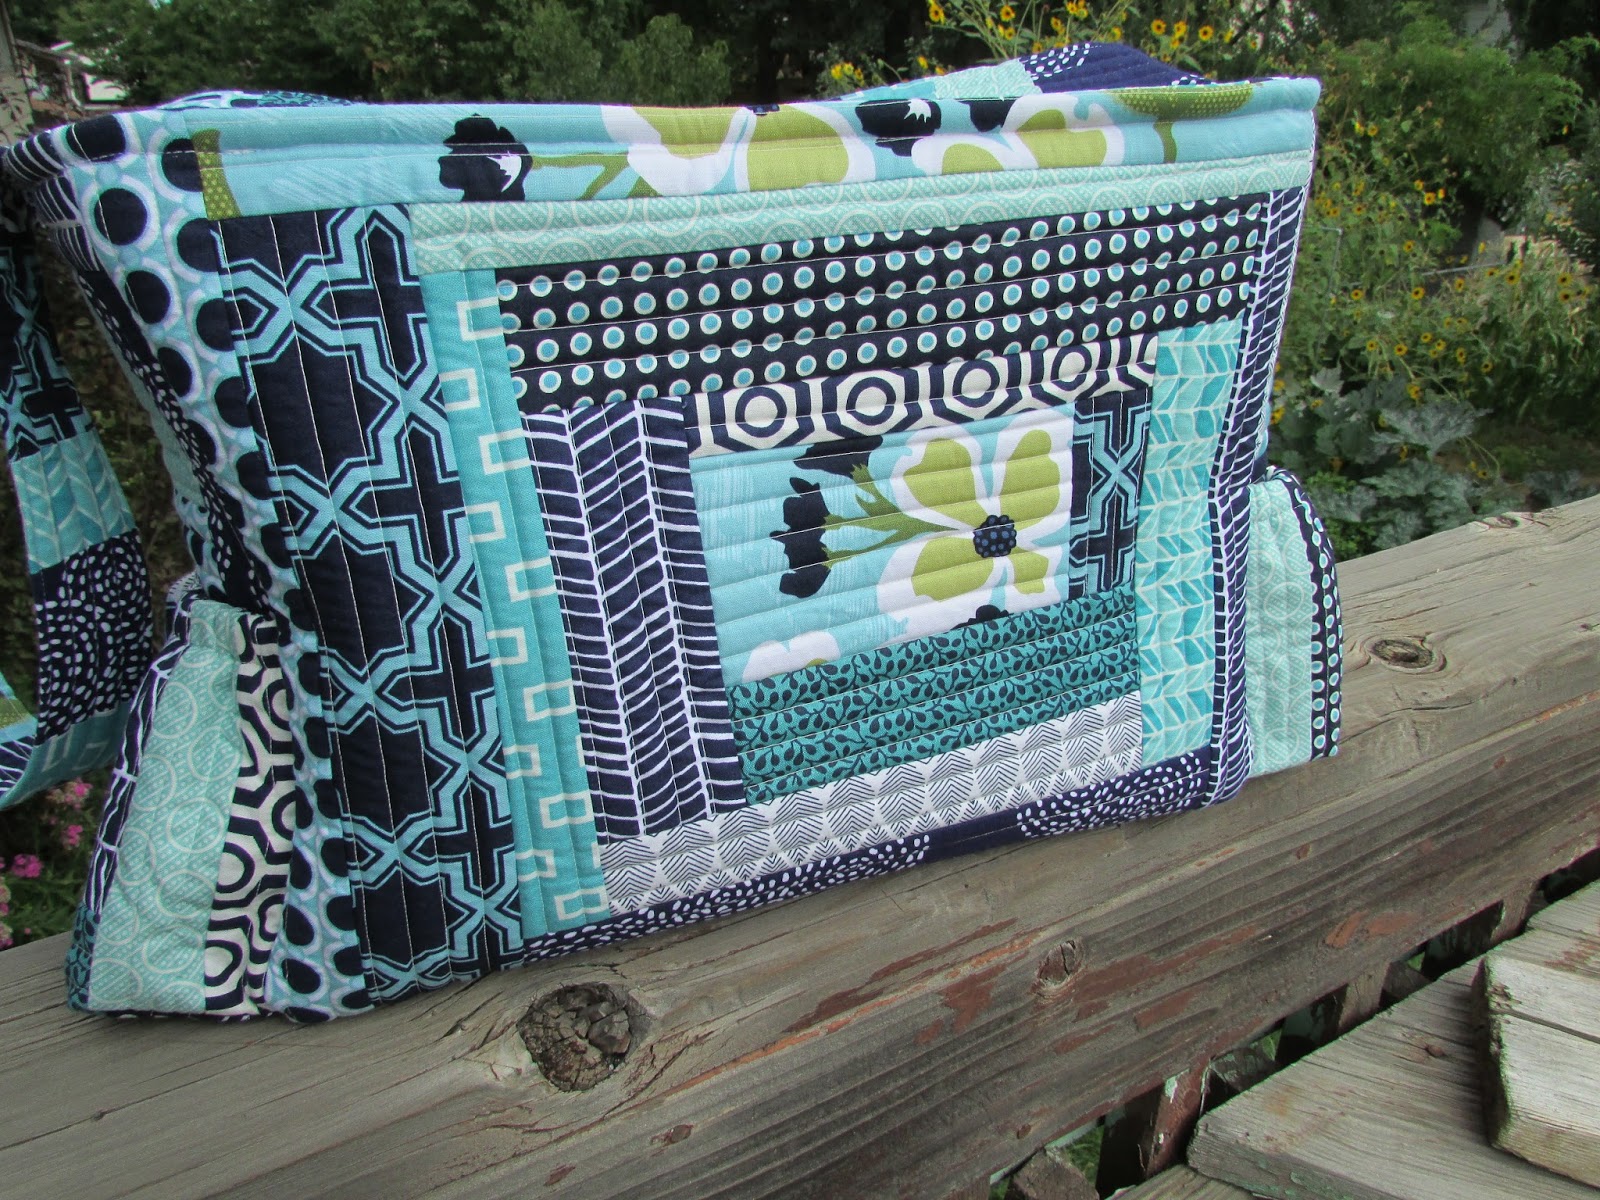
Finished QAYG Diaper Bag

I'm thrilled to share this finish today. This has been in the works in my head for quite a while, and took a couple of weeks of my sporadic sewing time to get it done. I couldn't be happier with the result.
 I used Soft and Stable in most of the areas of the bag to make it more sturdy. This was my first time using it and I love how it works! This shows the bag standing up completely by itself with nothing inside. Batting would have a much greater tendency to buckle on itself. I used batting for the side pockets and the skinny panel that goes around the inside top edge to make those areas softer. I put a piece of plastic canvas in the bottom for a good sturdy base.
 The main fabrics are from Joel Dewberry's Modern Meadow line, with a few thrown in from Emily Herrick's Technicolor, V and Co.'s Simply Style, a couple of DS prints, and the aqua herringbone is from Cloud9. The navy and white hexy print is from Camelot Cottons. I had to buy a whole yard of that one when I stumbled across it at my local quilt shop.
 I designed the pattern myself and I'm thinking of writing it up. It finishes at 15" x 6" x 11 1/2" high, and I think it's a wonderful size. The one I have that is on its way out is the same size and has been very useful for us. The end pockets are big enough to fit two bottles next to each other, or whatever else you may need to stash in there. So what do you think about a pattern? Is there any interest in that?
 I haven't actually done quilt as you go before and I loved experimenting with the different strip widths and seeing it all evolve as it came along.
To make the strap I pieced all of the strips together first, then kind of wrapped it around the Soft and Stable and top-stitched it from there. It was slightly more complicated than that, but it worked out well and I'm happy with the result. I had to think about it for a while to figure out how to get the QAYG look without any exposed raw edges.

 I'm officially at 30 weeks as of yesterday, so now I'm trying to resist the urge to start using this right away rather than waiting for our new little one to make his appearance.
With this out of the way I started cutting into my fabric for this guy's baby quilt. The navy fabric for the background was back-ordered for a while, so it delayed my starting on it as soon as I would have liked. I'm so excited about this one--I'll be sure to post updates!

Friday, September 6, 2013

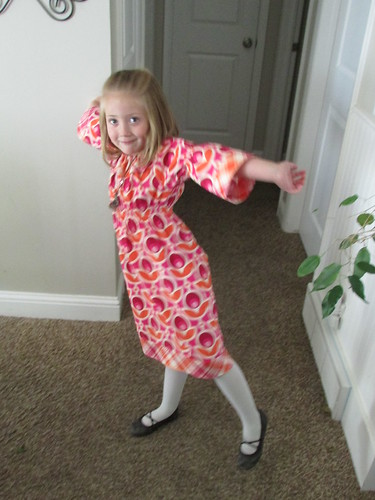
Finished Notting Hill Dress

I actually finished this dress a few weeks ago but haven't taken the time to share it yet.
Notting Hill Dress 3
The pattern is a combination of a couple of different designs in "Little Girls, Big Style." The patterns in the book only go up to a size 6, and my little girl is growing so fast, I figured I'd better make it before she got any bigger! It wouldn't be hard to alter the pattern to a larger size, but I'm glad I didn't have to. This was my first time shirring and it went pretty well. I didn't get quite as much gathering as I would have liked, but it does have plenty of shape so I'm still satisfied with the results.
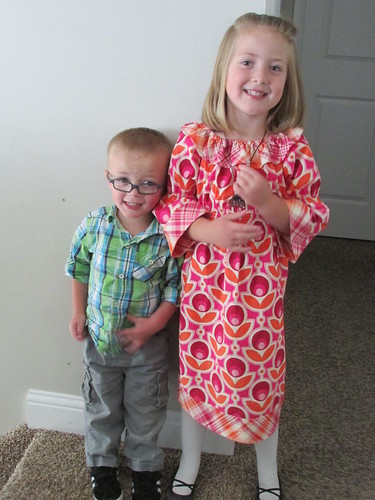
Notting Hill Dress 1
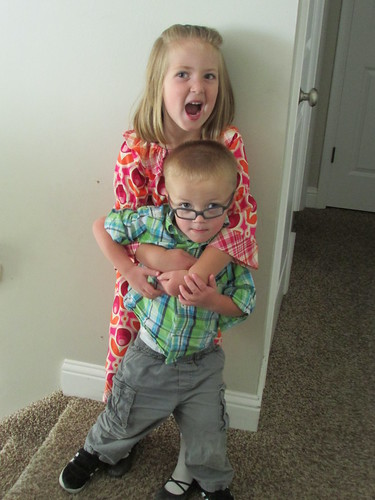
My munchkin likes her new dress! Little brother had to get in on the photo action too.
I love the 3/4 length sleeves and the bias plaid.
Notting Hill Dress 2
I'm linking up to "Finish it Up Friday" at Crazy Mom Quilts. Not a quilt this time, but who doesn't love Joel Dewberry fabric?

Wednesday, August 28, 2013

Work in Progress: QAYG Diaper Bag

I'm working on a new diaper bag right now.  The one we have is almost 5 years old and getting pretty worn out.  I'm glad it has held up as well as it has, and I've loved using it, but it's time for a new one with a new baby on the way.  I'm using a pattern that I designed myself, and is pretty much the same as our current diaper bag (which I also made).

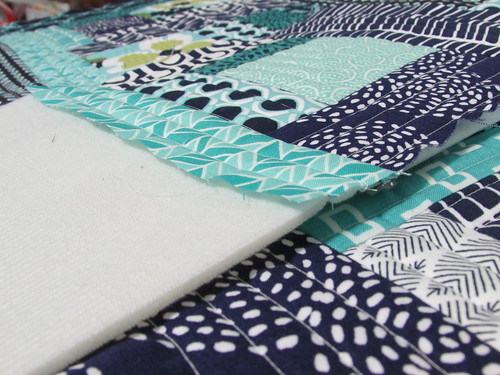
I'm using Soft and Stable for the body of the bag and I'm liking it so far.  I'm curious to see how it stands up once the bag is finished.  The instructions say it isn't necessary to quilt it, but I knew I wanted to with this to help the fabric hold up a little better.  My old bag is made from home dec. fabric so it is naturally a lot sturdier than quilting cotton.  I hope this new bag holds up well.
Using "Soft and Stable" for QAYG

This is also my first time doing quilt-as-you-go.  I'm really enjoying the process--I don't usually do anything close to improv, and this has been really fun.
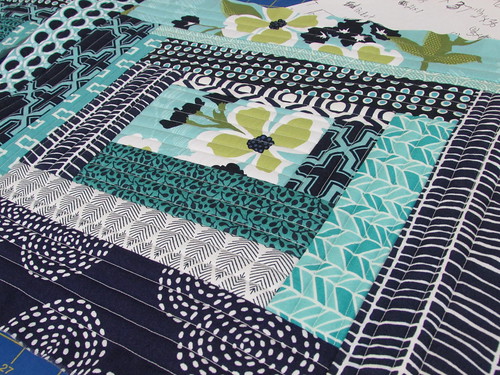
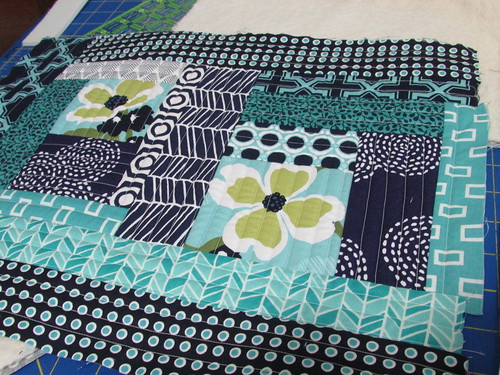
QAYG Diaper Bag side 1

I have both sides done and I'm getting close on finishing up the end pieces.
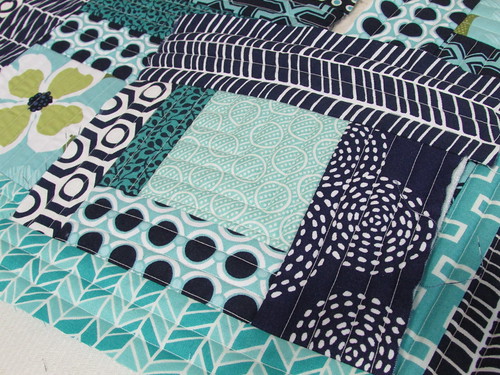
QAYG Diaper Bag side 2

I just love the texture!
texture

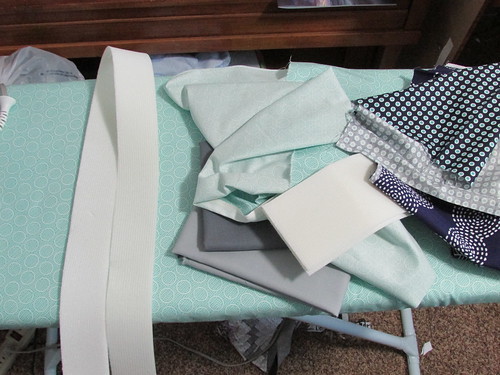
I also recently re-covered my ironing board.  My old cover somehow got covered with ink, so a new one was a high priority.  I found this cute DS Quilts print at JoAnn's.  I don't use fabric from there much anymore due to a seriously faded quilt, but the higher quality prints are still okay.  Right now my ironing board is a big staging area, holding fabric I'm working with and pieces of soft and stable waiting to get used.  I like the new cover a lot, it's nice to have a happy splash of color.
new ironing board cover--covered with fabric
Linking up today to WiP Wednesday at Freshly Pieced.

Tuesday, August 27, 2013

Little Quilters

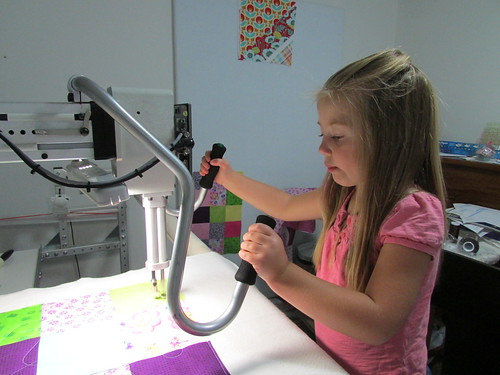
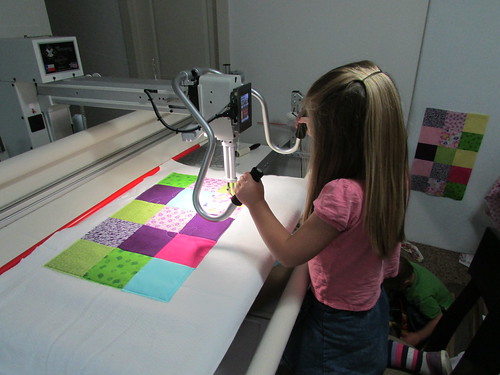
A couple of weeks ago I loaded my munchkin's doll quilts on the longarm and let her quilt them.  This was her first time using the big machine, and she did pretty well!

I love the look of concentration on her face.
Munchkin Quilting 2

We didn't worry about any quilting pattern, I just let her play, although I kept saying, "Slow down."
Munchkin Quilting 1

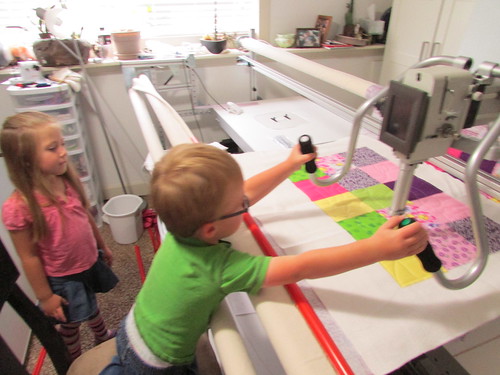
Little brother had to get in on the action too.  He kept saying, "A try?  A try?" It didn't take him long to find the start/stop button, so I had to turn it off and just let him push it around for a minute.  He's not as good at listening to requests to slow down. =)
Little Guy "quilting"

My munchkin was so excited about her quilts.  I still have to do the binding, hopefully that will happen soon.
I made this!

I've been busy on several other projects as well, some of which are finished, so I should be sharing those in the semi-near future.

Wednesday, July 24, 2013

WiP: When a 4-Year-Old Meets the Design Wall

Munchkin meets design wall

*Remember, if you donate to Hope Kids before the end of the month, you can get a discount on quilting services for up to $25.  See THIS POST for details!*

This afternoon I asked my munchkin if she wanted to go to JoAnn's to pick out some fabric for a new skirt.  Really I just need some machine oil for my longarm, but I thought it would be nice if I could get her excited about going.  She decided that she wanted to buy fabric to make blankies for her stuffed animals.  When I told her that she already had some fabric that we bought several months ago, she got really excited and wanted to see it. 

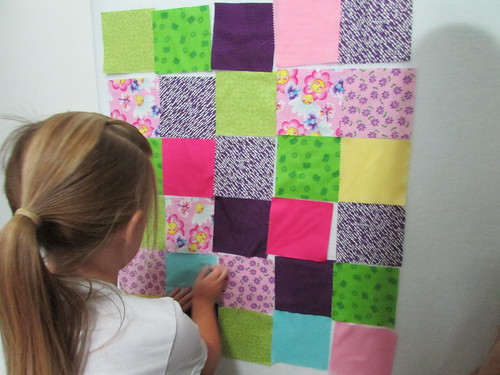
Munchkin meets design wall

So we put little brother down for a nap and picked a few fabrics from her stash, added a few from mine, and cut squares and got started.  It was going to be 4x4 squares, but she kept wanting it bigger.  I'm glad I had some charms we could pull out and add to it.

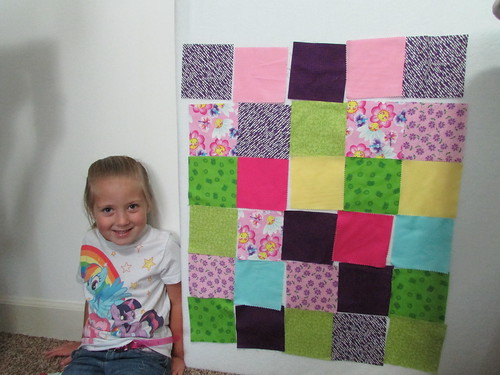
Munchkin meets design wall--done!
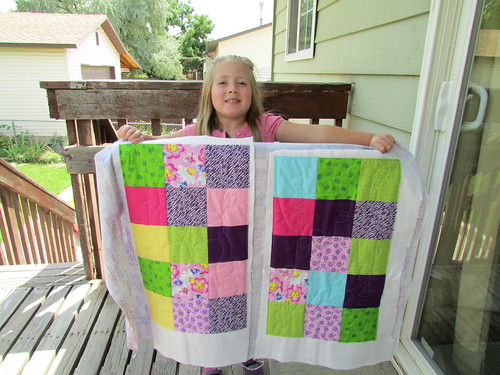
Instead of "Cheese" I told her to say "I made this!"  She was very happy to do so. =) 

She really enjoyed the process.  I'll admit it was hard for me not to jump in too much so the color placement was at least a little more balanced, but it was fun to spend some time together.  She's been asking to sew together for a long time, I'm really glad that we made a start today.

I think we'll start sewing during tomorrow's nap time.  I'll probably even let her use the longarm (with a lot of help!) when we get to the quilting part.

Monday, July 22, 2013

Two King Size Quilting Finishes

I recently finished quilting two king-size quilts for Leigh.  These were the biggest quilts that I have done yet and they turned out really well.  I wouldn't have been able to do quilts nearly this large on my old machine, so I'm really glad I have the new one!  She wanted allover patterns on both quilts.  The second is my favorite of the two.

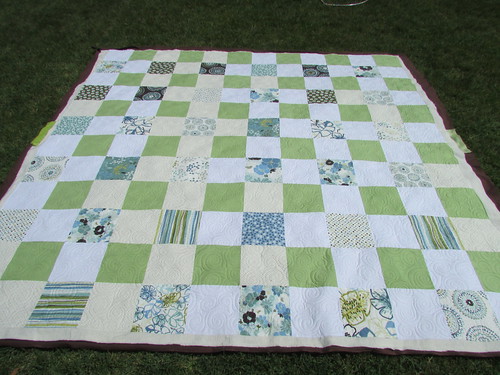
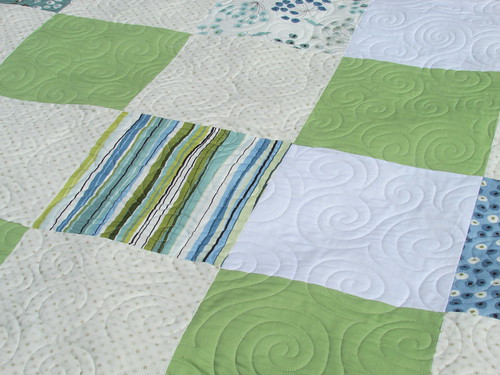
Her first quilt was a simple patchwork design, but made with large squares.  They finished at 9.5", so this could have been a layer cake pattern.  The colors she chose are very soothing.
  Leigh's Quilt #1

On this quilt I decided to do an allover swirl pattern.  Some of the fabrics had very round elements, and I wanted to kind of echo that.

Leigh's Quilt #1 close-up

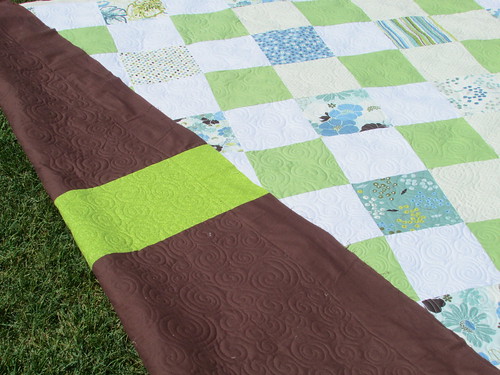
She pieced a cute bright green stripe down the center of the back.
Leigh's quilt #1 with back

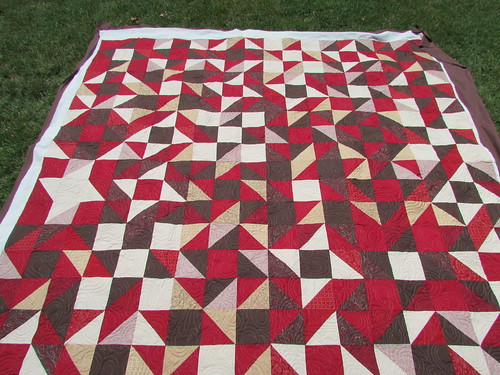
The second quilt was all half square triangles.  I didn't measure them, but they are around 6" finished.  They were arranged in 9-patches, and each 9-patch makes a star with various color placements. 
Leigh's Quilt #2

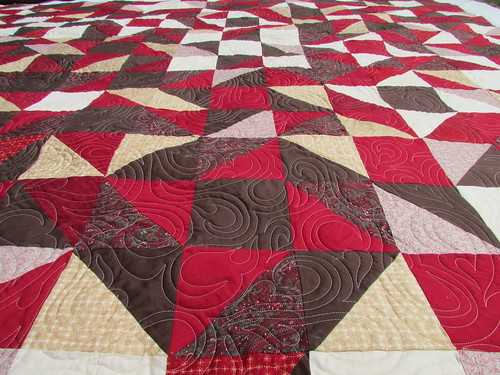
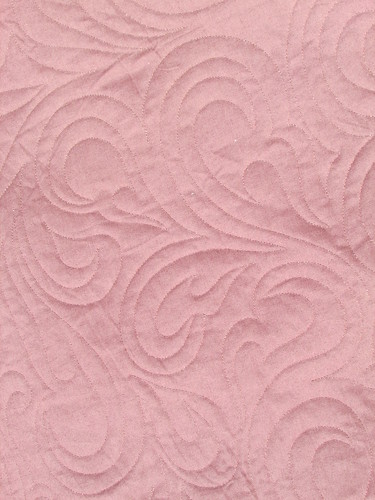
One of the fabrics had paisley in it, so I quilted this paisley-ish design that I LOVE.  I learned it recently from my friend Kayli.  It is supposed to be done fairly small (I think) but I thought it would have a great visual effect if I did it larger.  There are a few smaller ones in there to fill spaces, but the larger ones range from 8-12 inches long.  I absolutely love the motion that this pattern provides, it seemed like a really nice contrast to the angular piecing pattern while echoing the paisley in the fabric.
Leigh's Quilt #2 detail

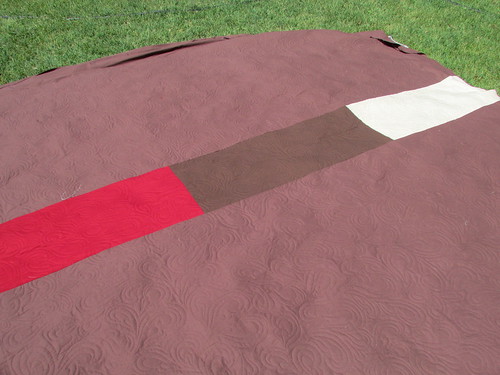
The back of the quilt had a stripe down the center as well, this time in three different colors.
Leigh's Quilt #2, Back

I'm pretty sure this is my new favorite quilting pattern, I will definitely be using it again.
Leigh's quilt #2, back detail

Thanks, Leigh for sending me your quilts!
Related Posts Plugin for WordPress, Blogger...